ORDER OF THE SINKING STAR · EAST
The Mirror Isles Walkthrough
The eastern branch uses mirrors to cross between islands. Start with the reflection rules, try the Mirror 1 hint guide, or match your board against the 27 entries in the regional directory.
Updated · Regional guide and community board directory
27 Demo boards and 27 community routes are recorded. The mechanics sections below are reading aids, not claims about three officially named subregions.
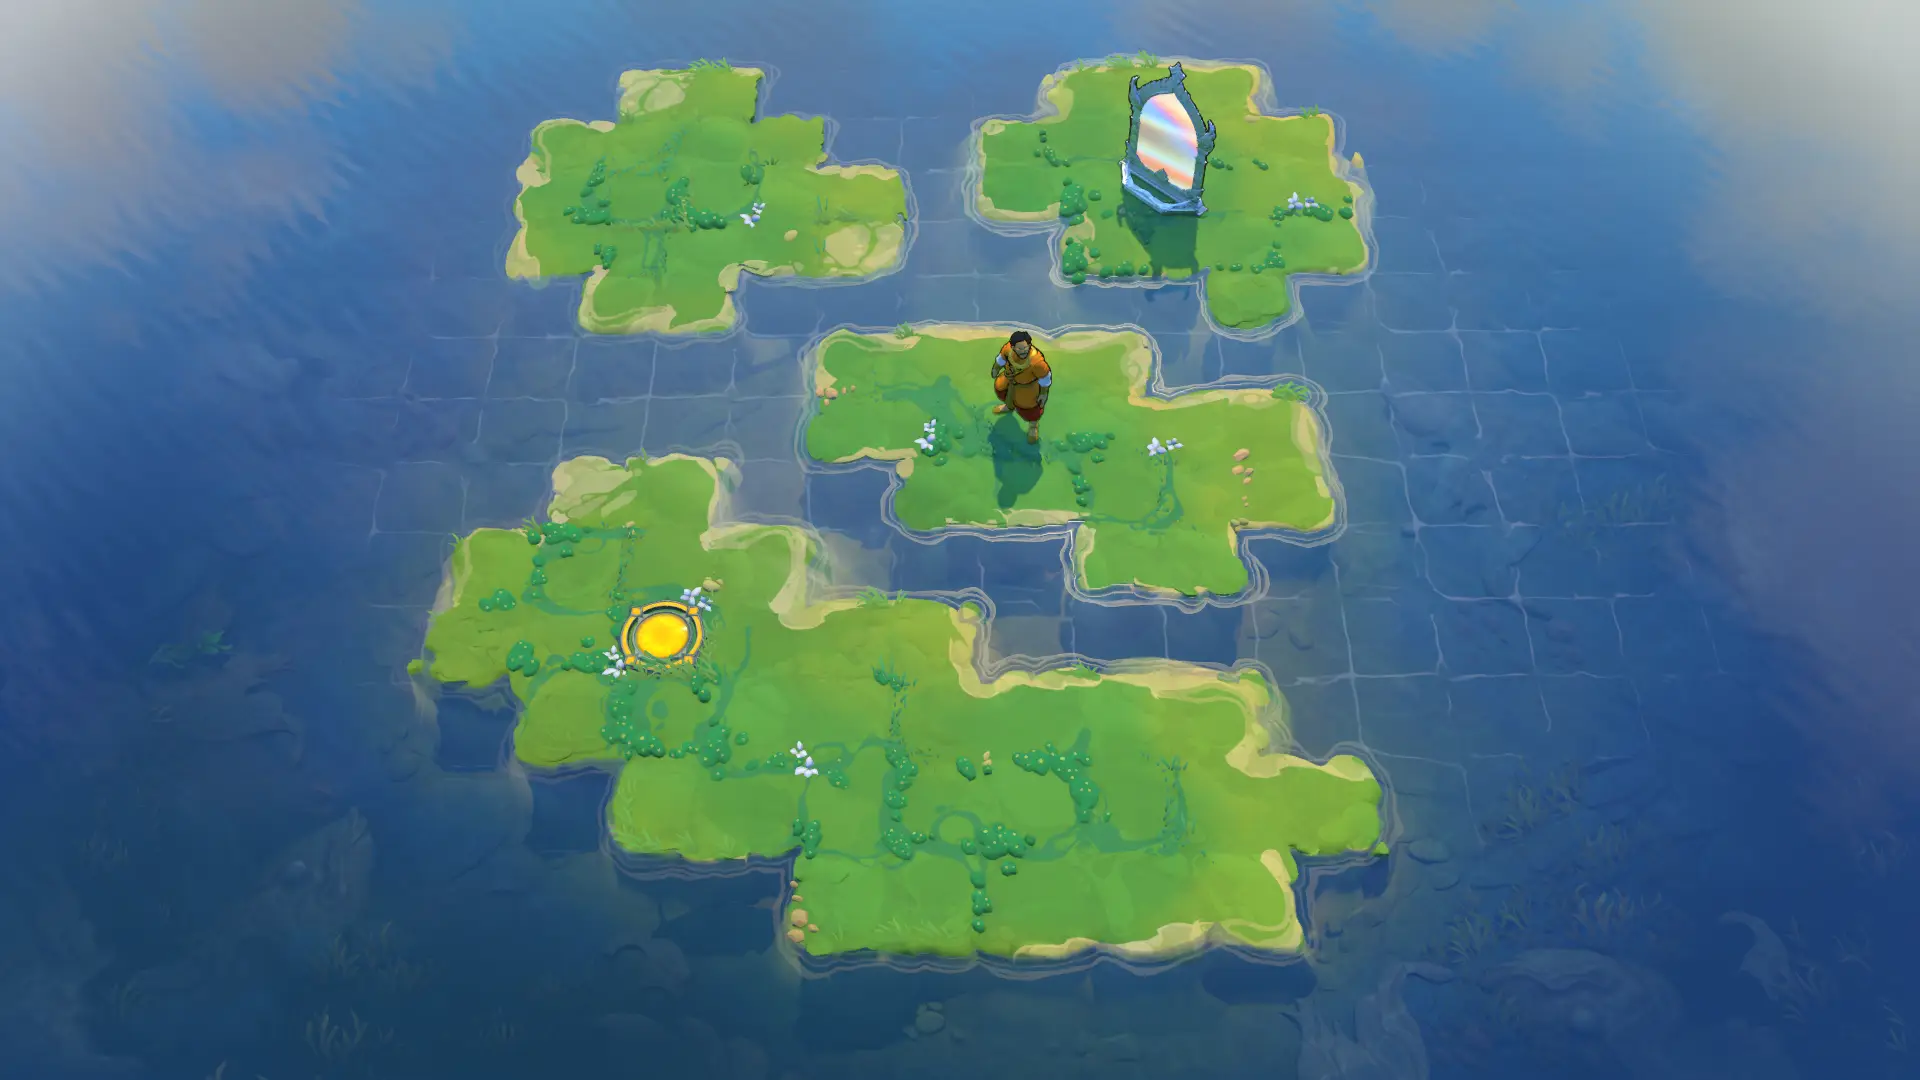
Start with position and reflection
The trader can exchange positions with a reflected image. Before swapping, compare the current square and the square occupied by the reflection. The useful move is often the position you choose before the exchange.
Mirror 1 is the worked example on this site: its four-island route uses two swaps. The separate guide lets you open a small hint, a key idea or the complete sequence, and identifies the community engine and video used to check it.
Find the right Mirror board and variant
The community directory includes entries such as Mirror 6 and Mirror 6 Alt. Those names distinguish layouts; they should not be merged merely because the number matches. Compare the islands, mirrors and starting position in the preview.
Keep the original community ID when reporting a mismatch. A descriptive title can help locate a puzzle, but this site has not verified every Demo label against the released game’s level names.
What should I check when a swap fails?
Follow the reflection rather than treating the swap as a fixed-distance jump. Our recommended check is to undo the last move, inspect where the reflected position is now, and only then try the action again.
The complete routes are revealed on demand. If you want to preserve the puzzle, open the board image and use the Mirror 1 explanation as a mechanic reference before revealing another board’s sequence. A route for a different starting layout is not a reliable shortcut.
The Mirror Isles puzzle directory
These previews identify community Demo layouts. Lookup labels and source names are preserved; a recorded route has not necessarily been replayed in the released game.
The Mirror Isles27 boards · 27 routes
I01 · mirror_1Mirror 1Board & route · 15 inputs ↗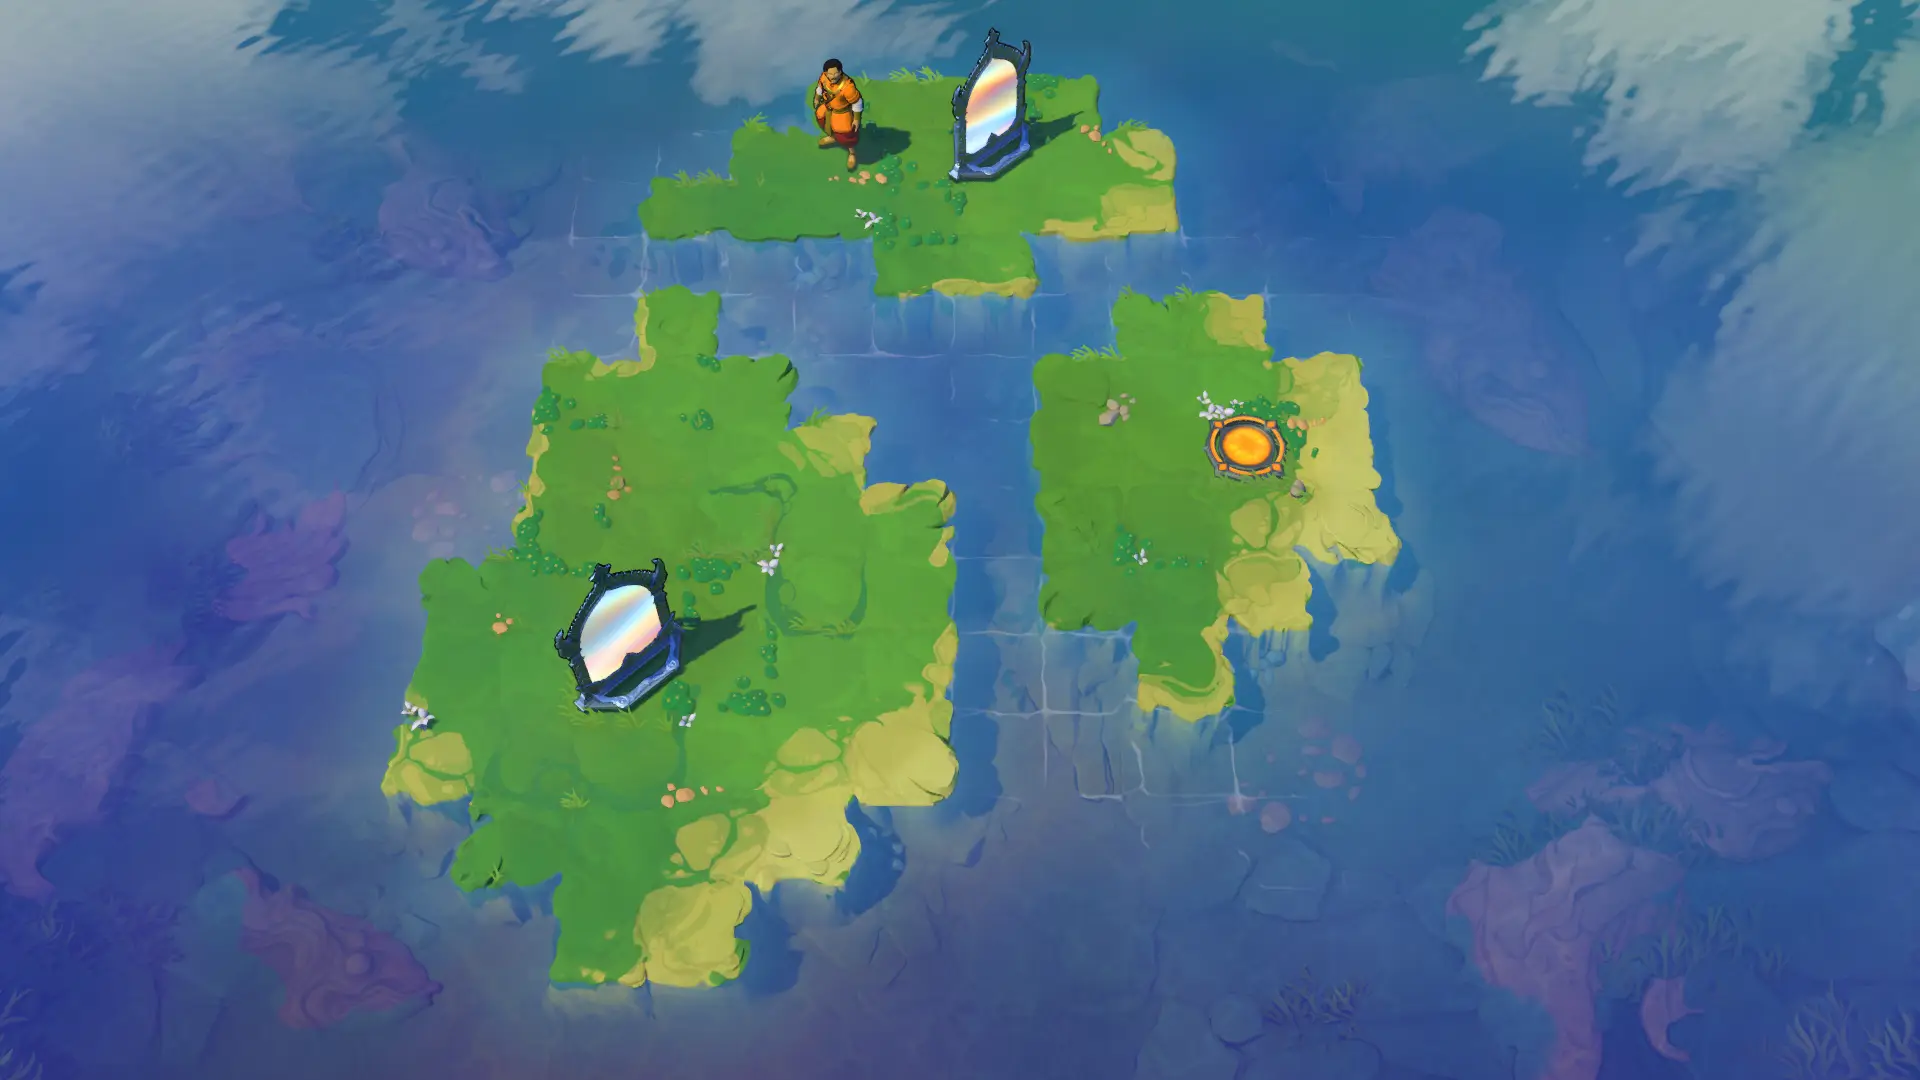 I02 · mirror_2Mirror 2Board & route · 27 inputs ↗
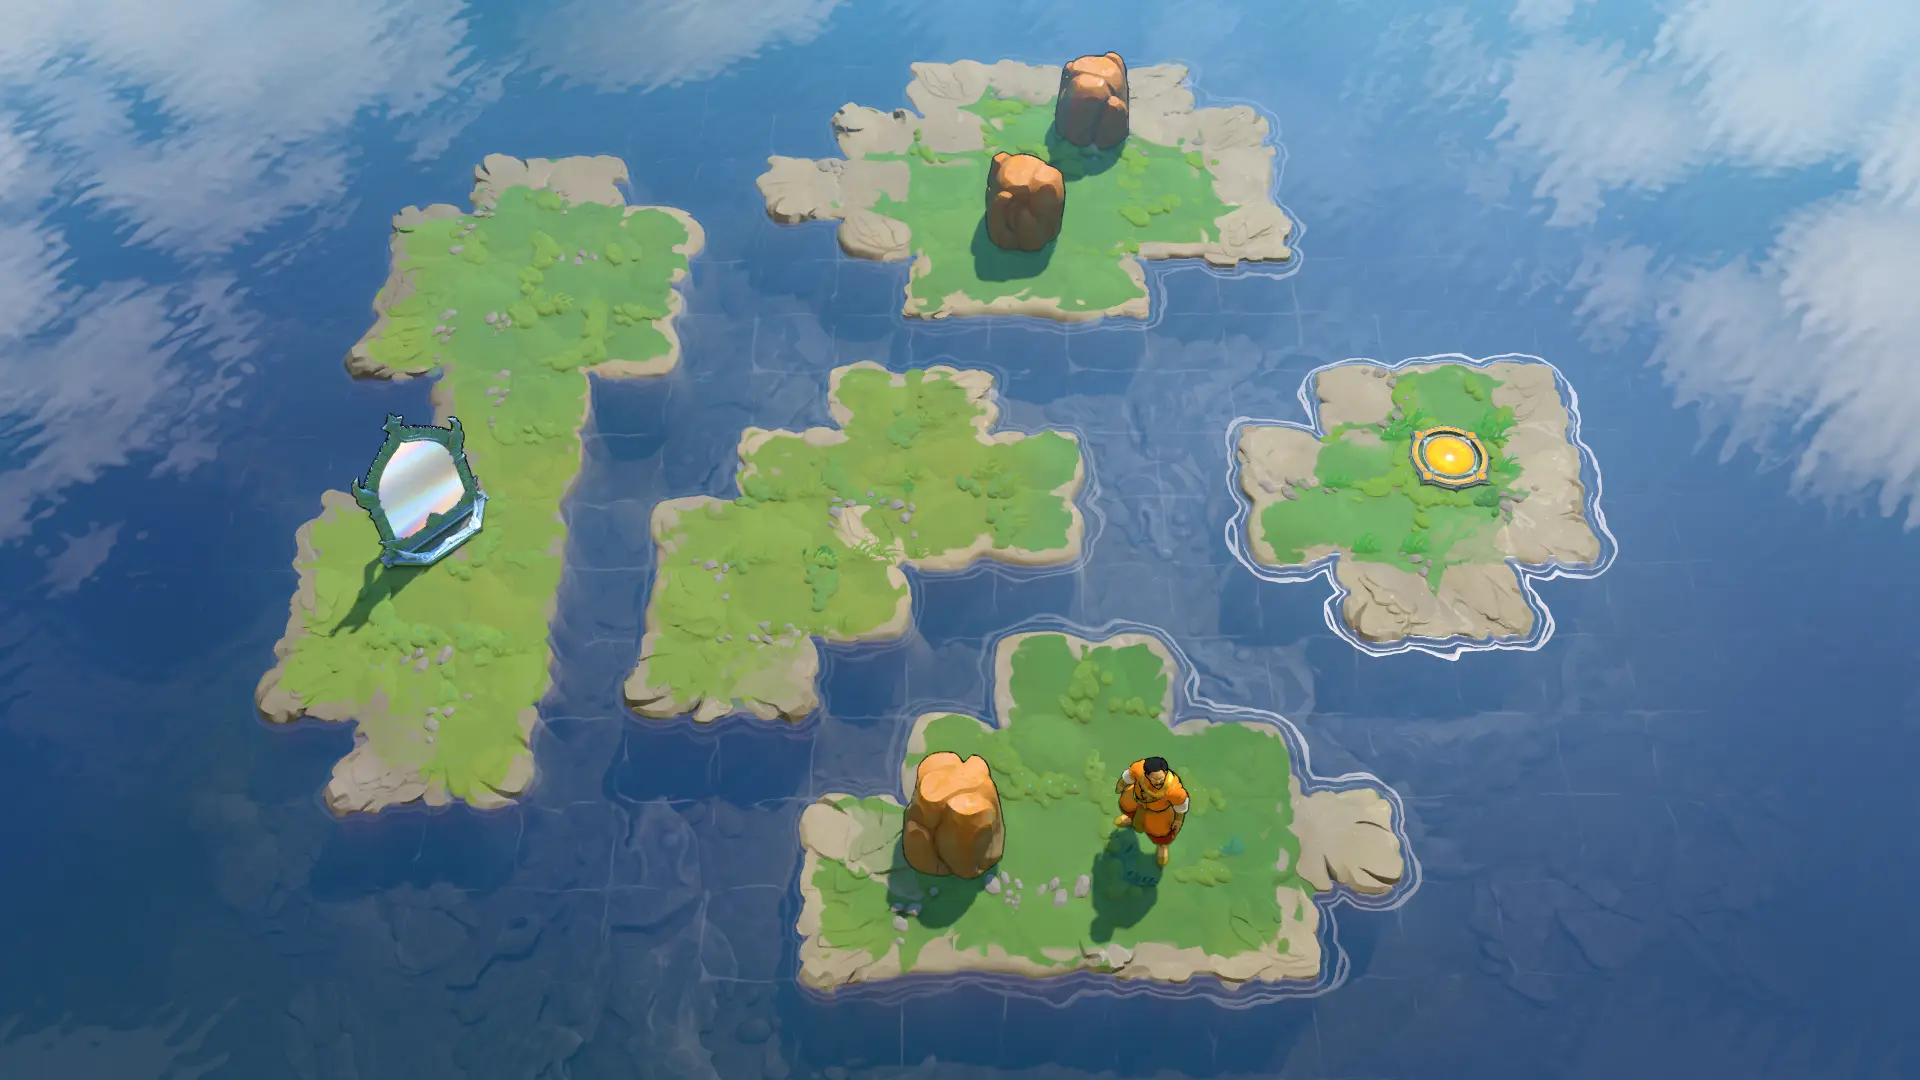 I03 · mirror_3Mirror 3Board & route · 104 inputs ↗
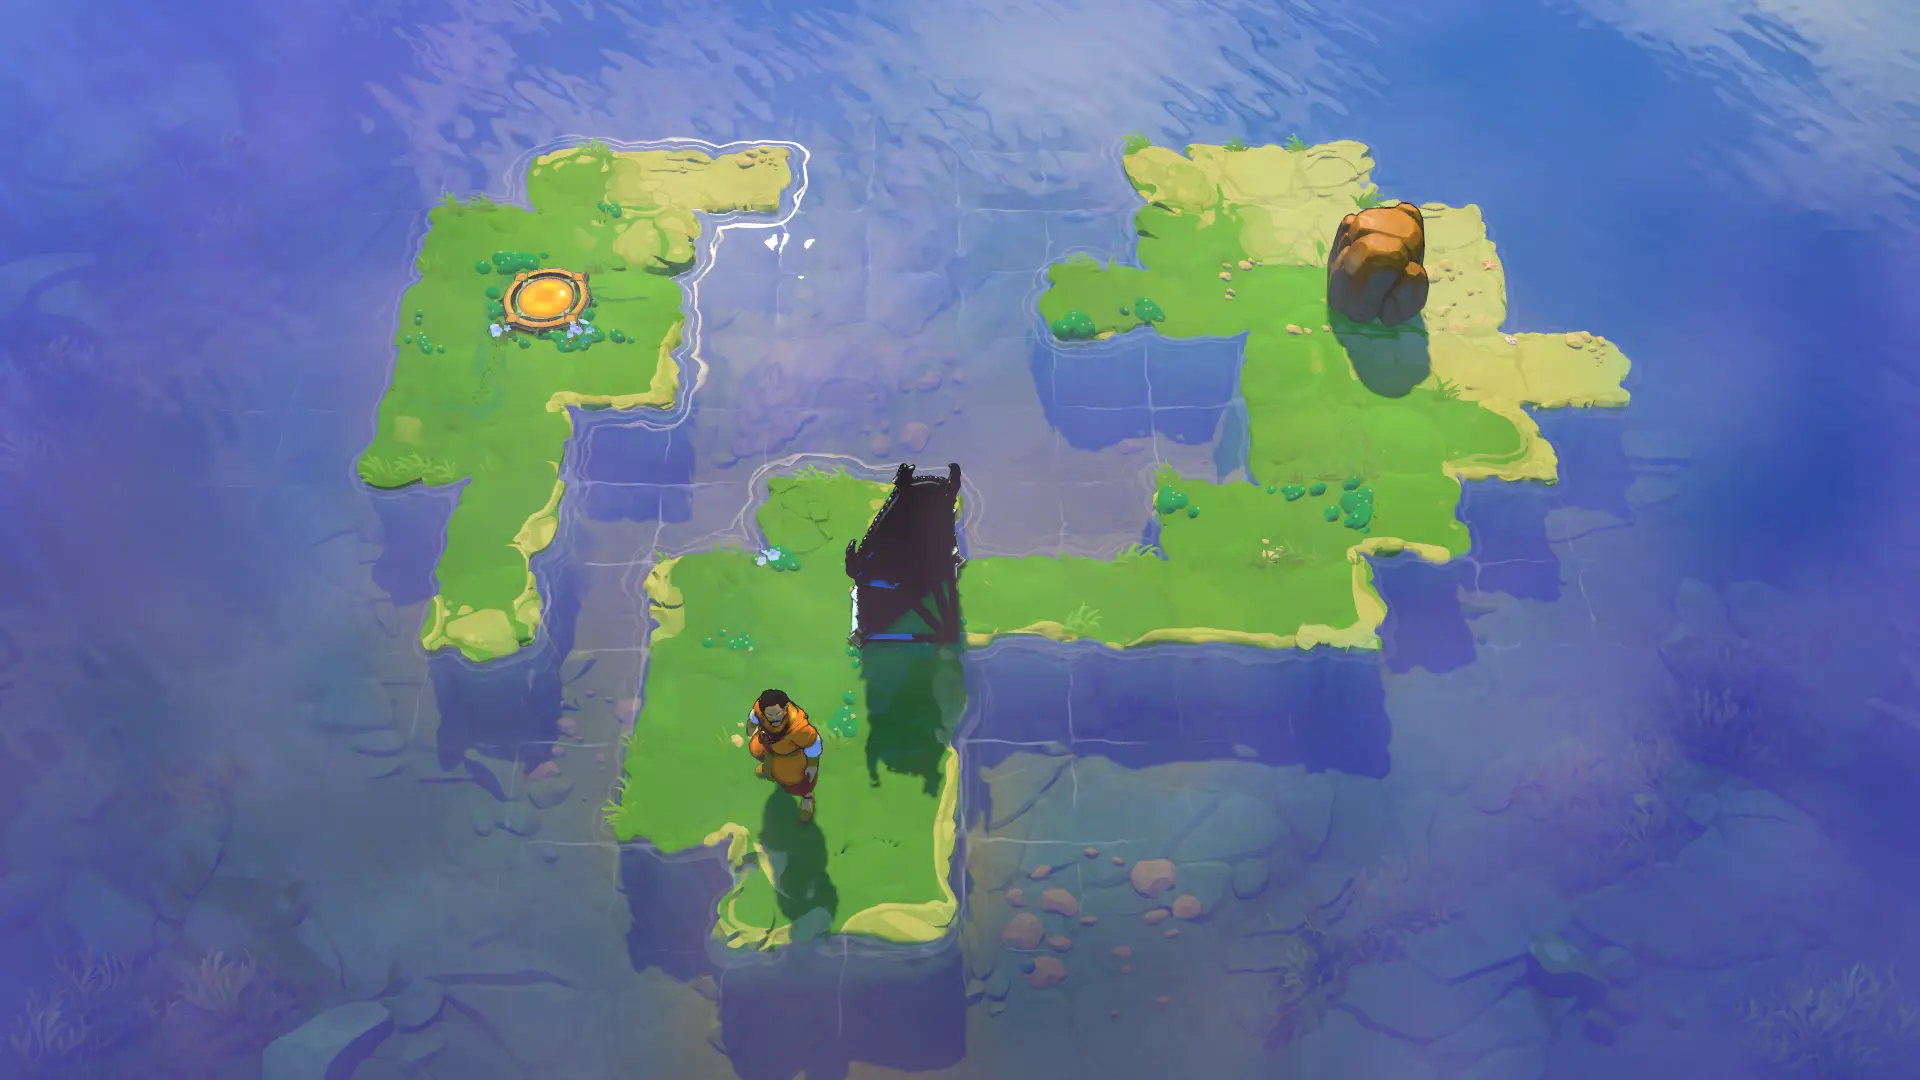 I04 · mirror_4Mirror 4Board & route · 29 inputs ↗
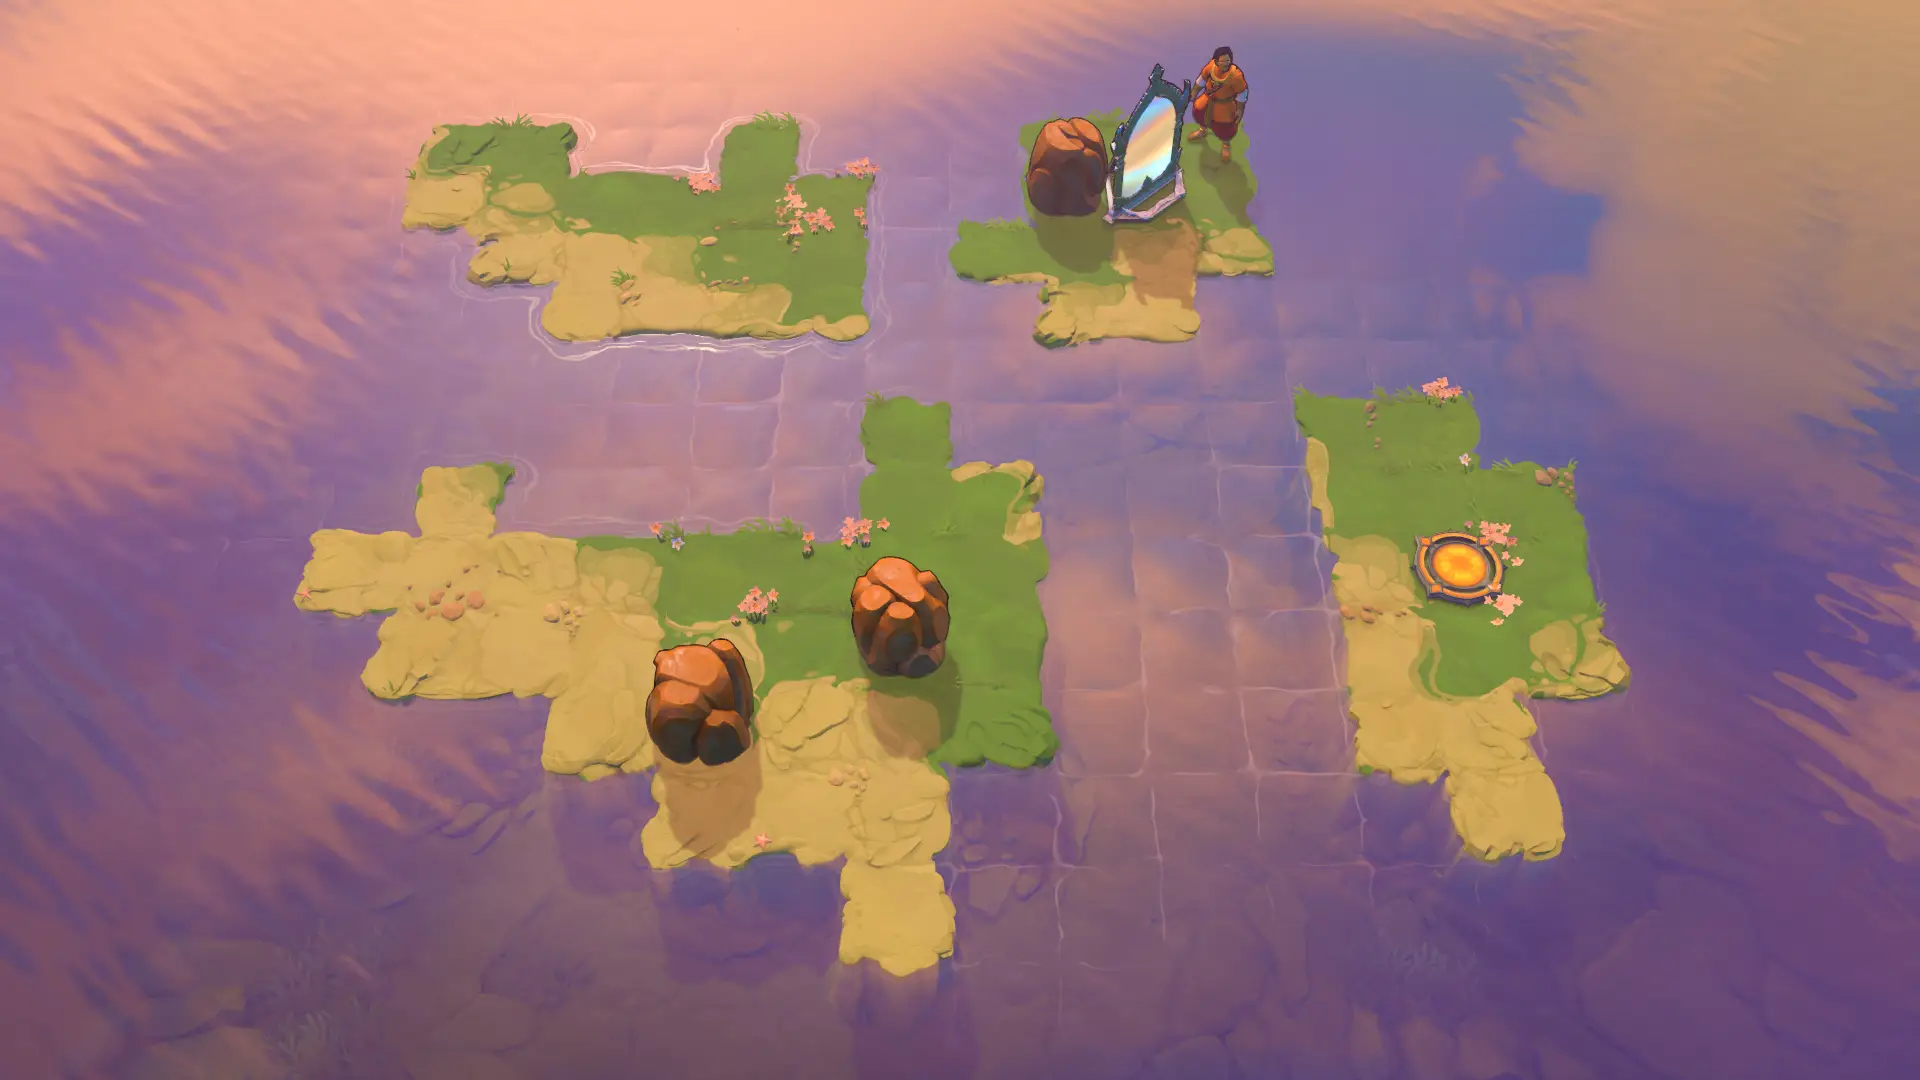 I05 · mirror_5Mirror 5Board & route · 85 inputs ↗
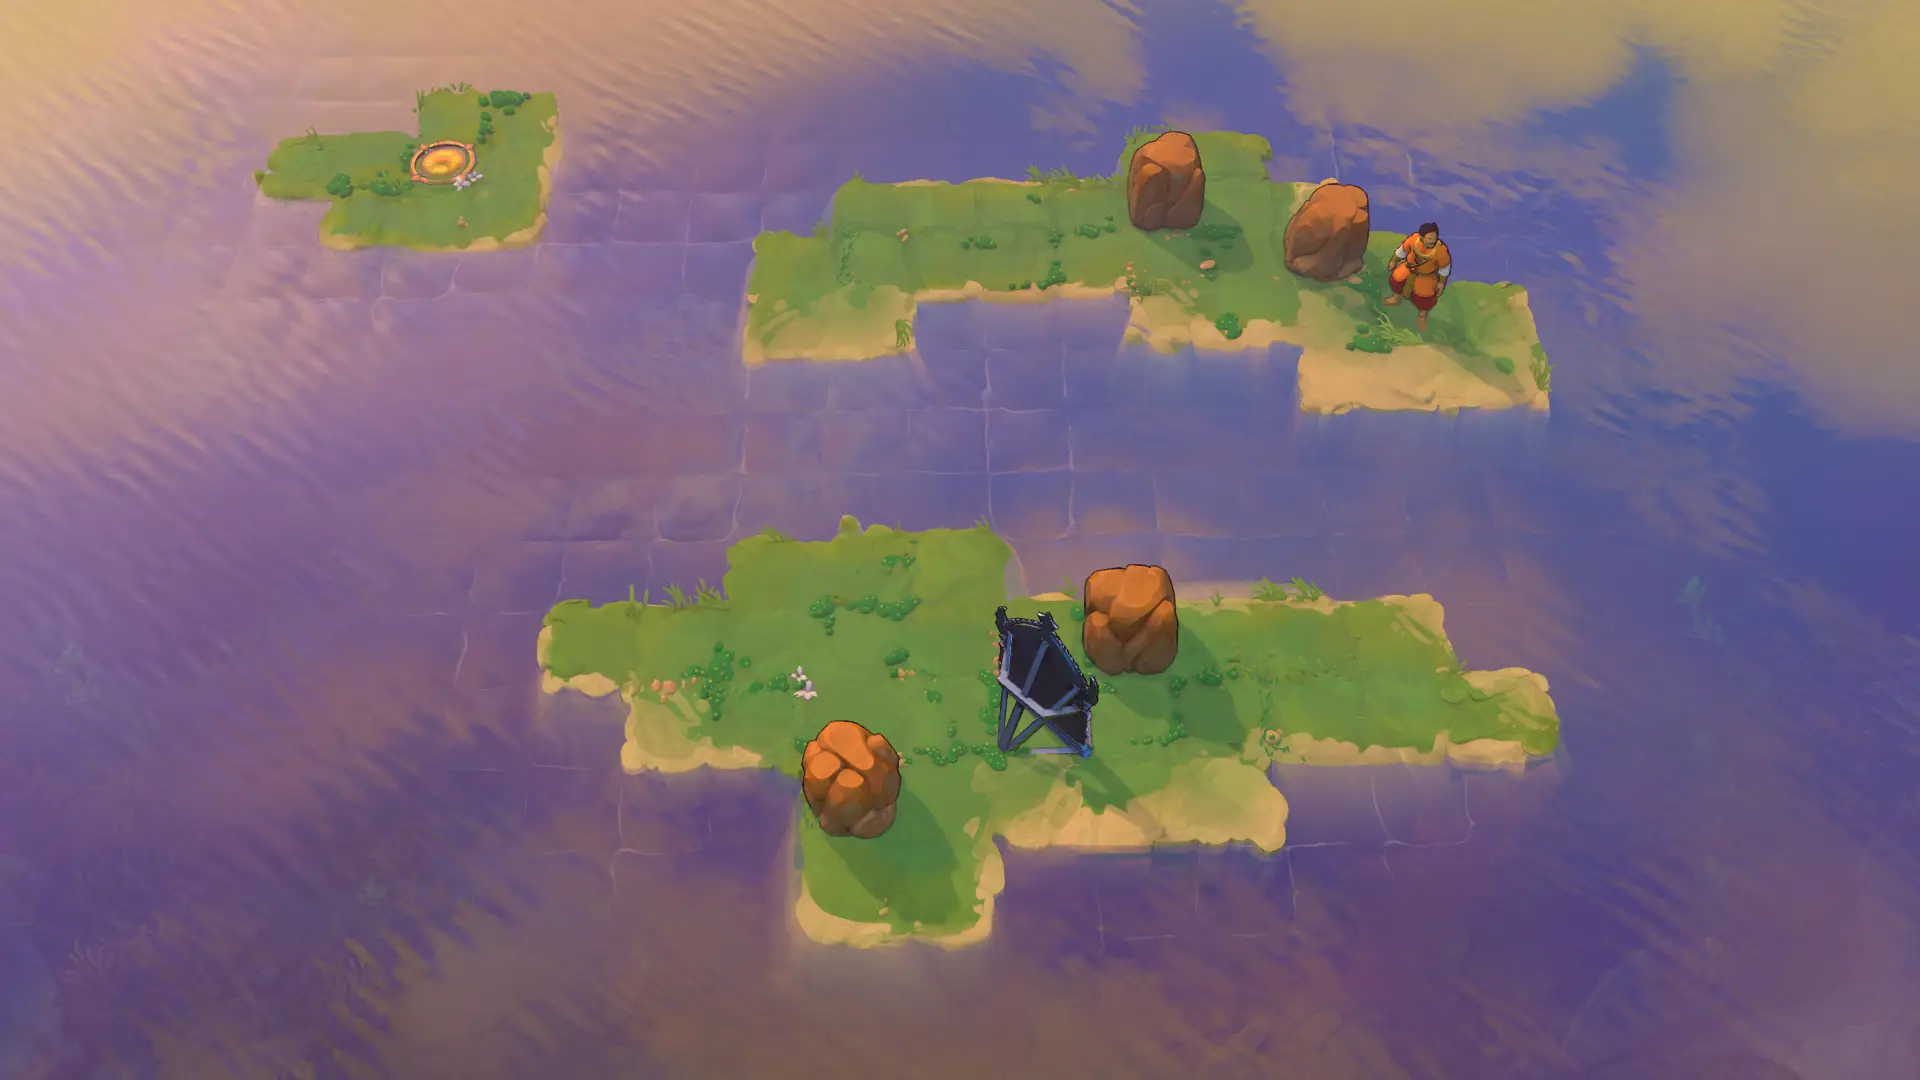 I06 · mirror_6_altMirror 6 AltBoard & route · 80 inputs ↗
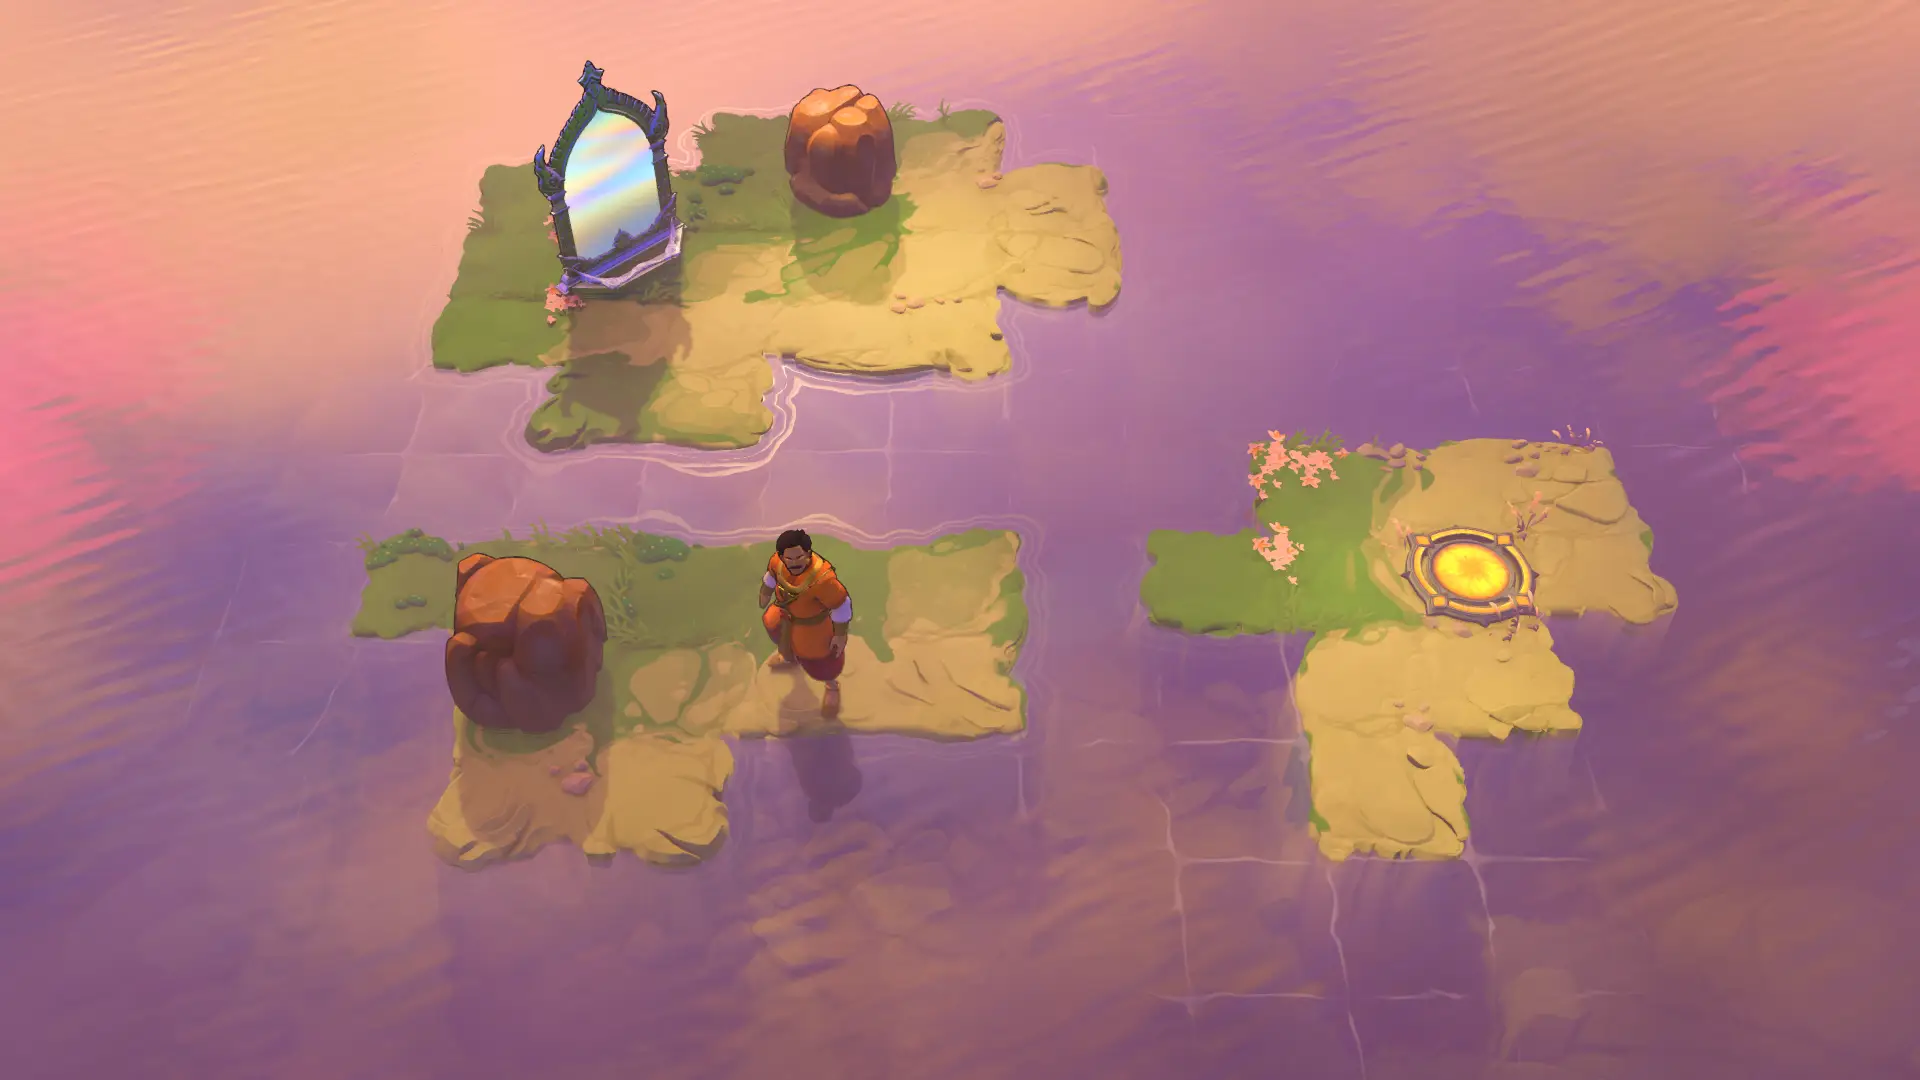 I07 · mirror_7Mirror 7Board & route · 38 inputs ↗
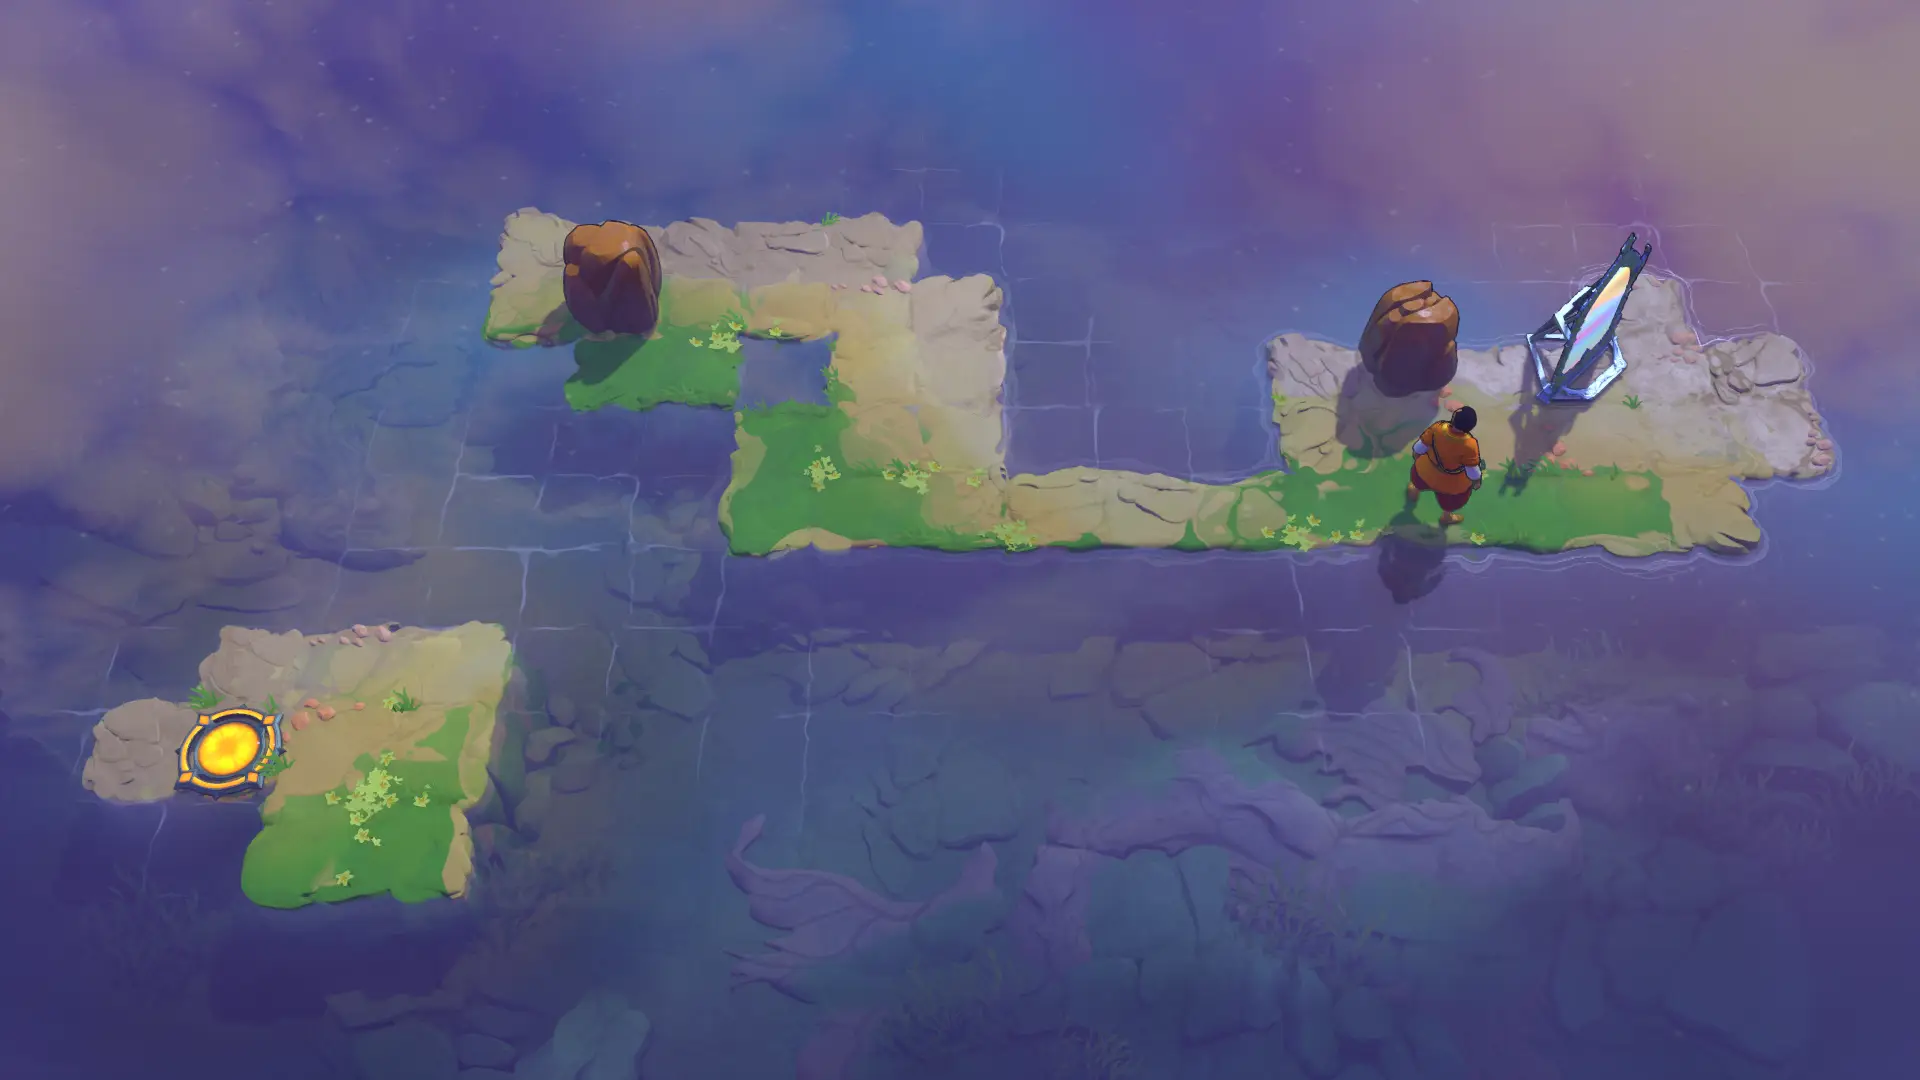 I08 · mirror_8_v5Mirror 8 V5Board & route · 80 inputs ↗
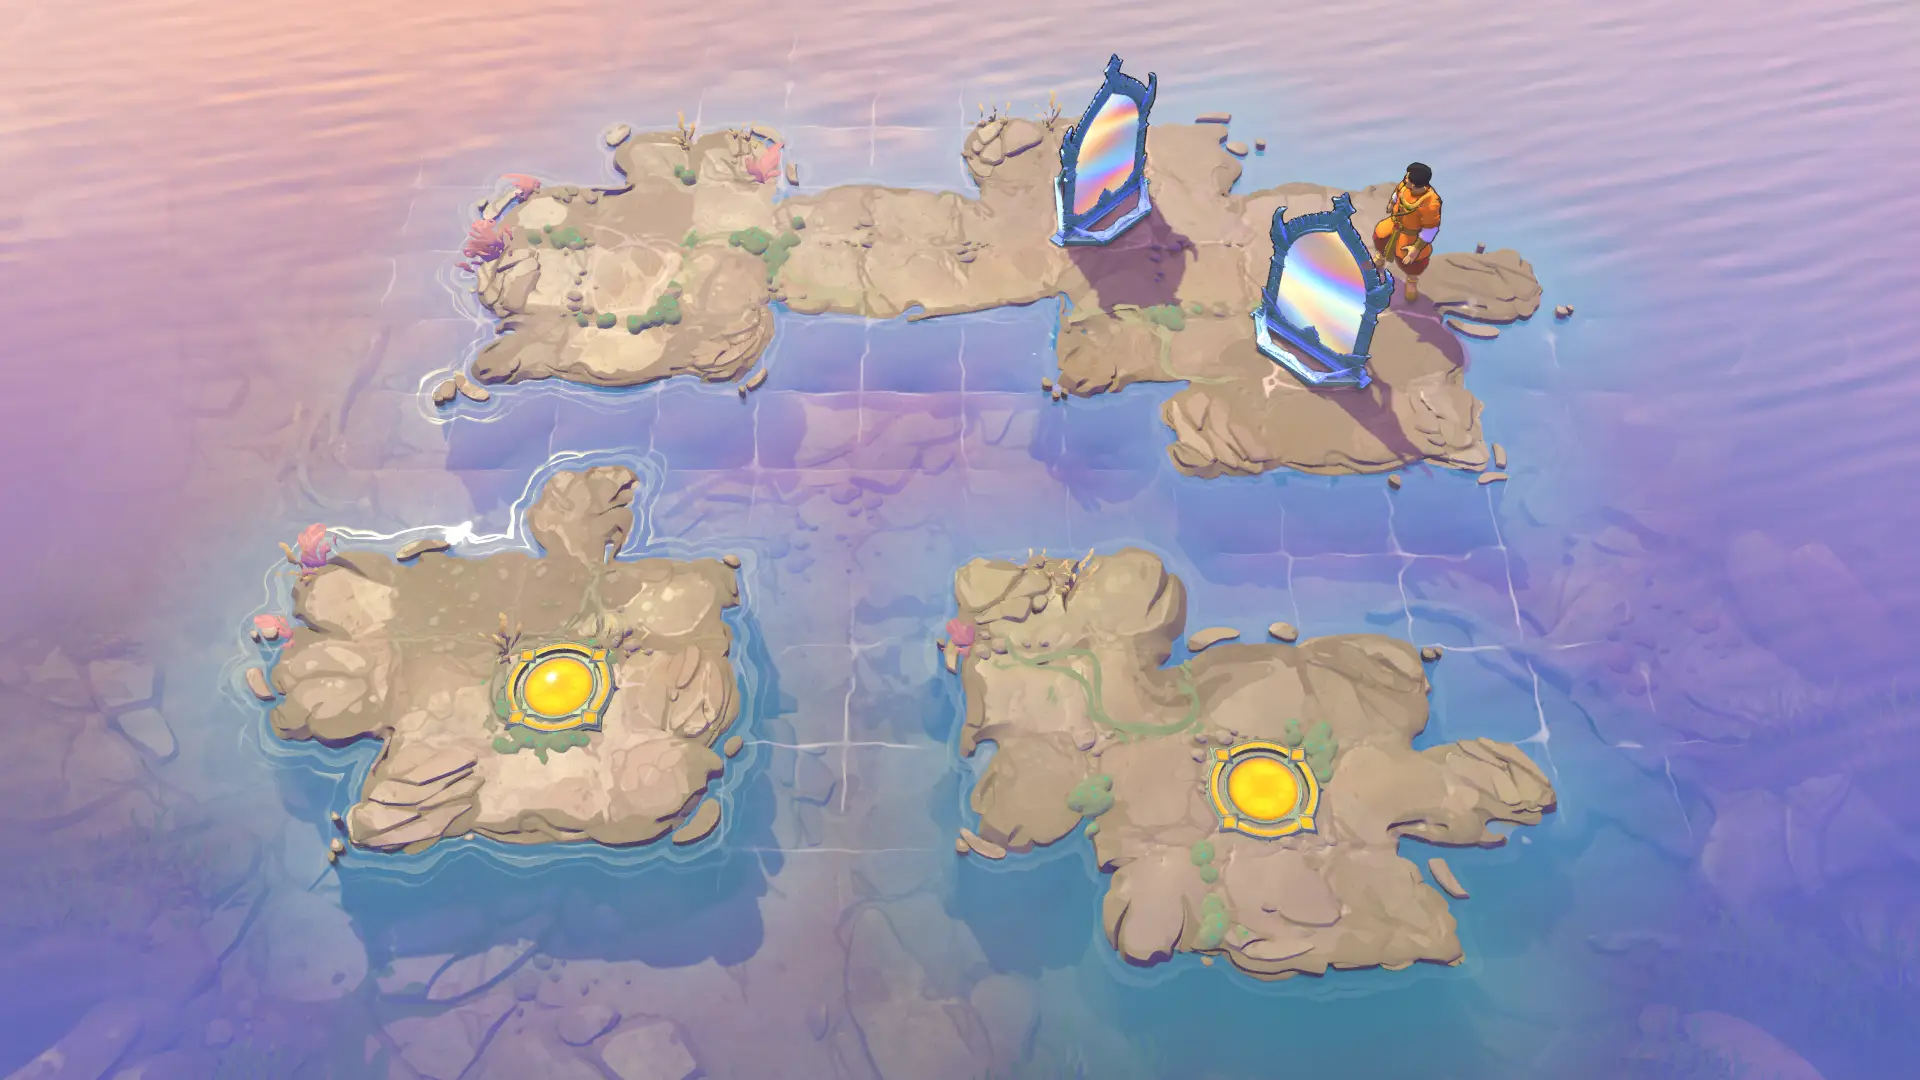 I09 · mirror_11Mirror 11Board & route · 24 inputs ↗
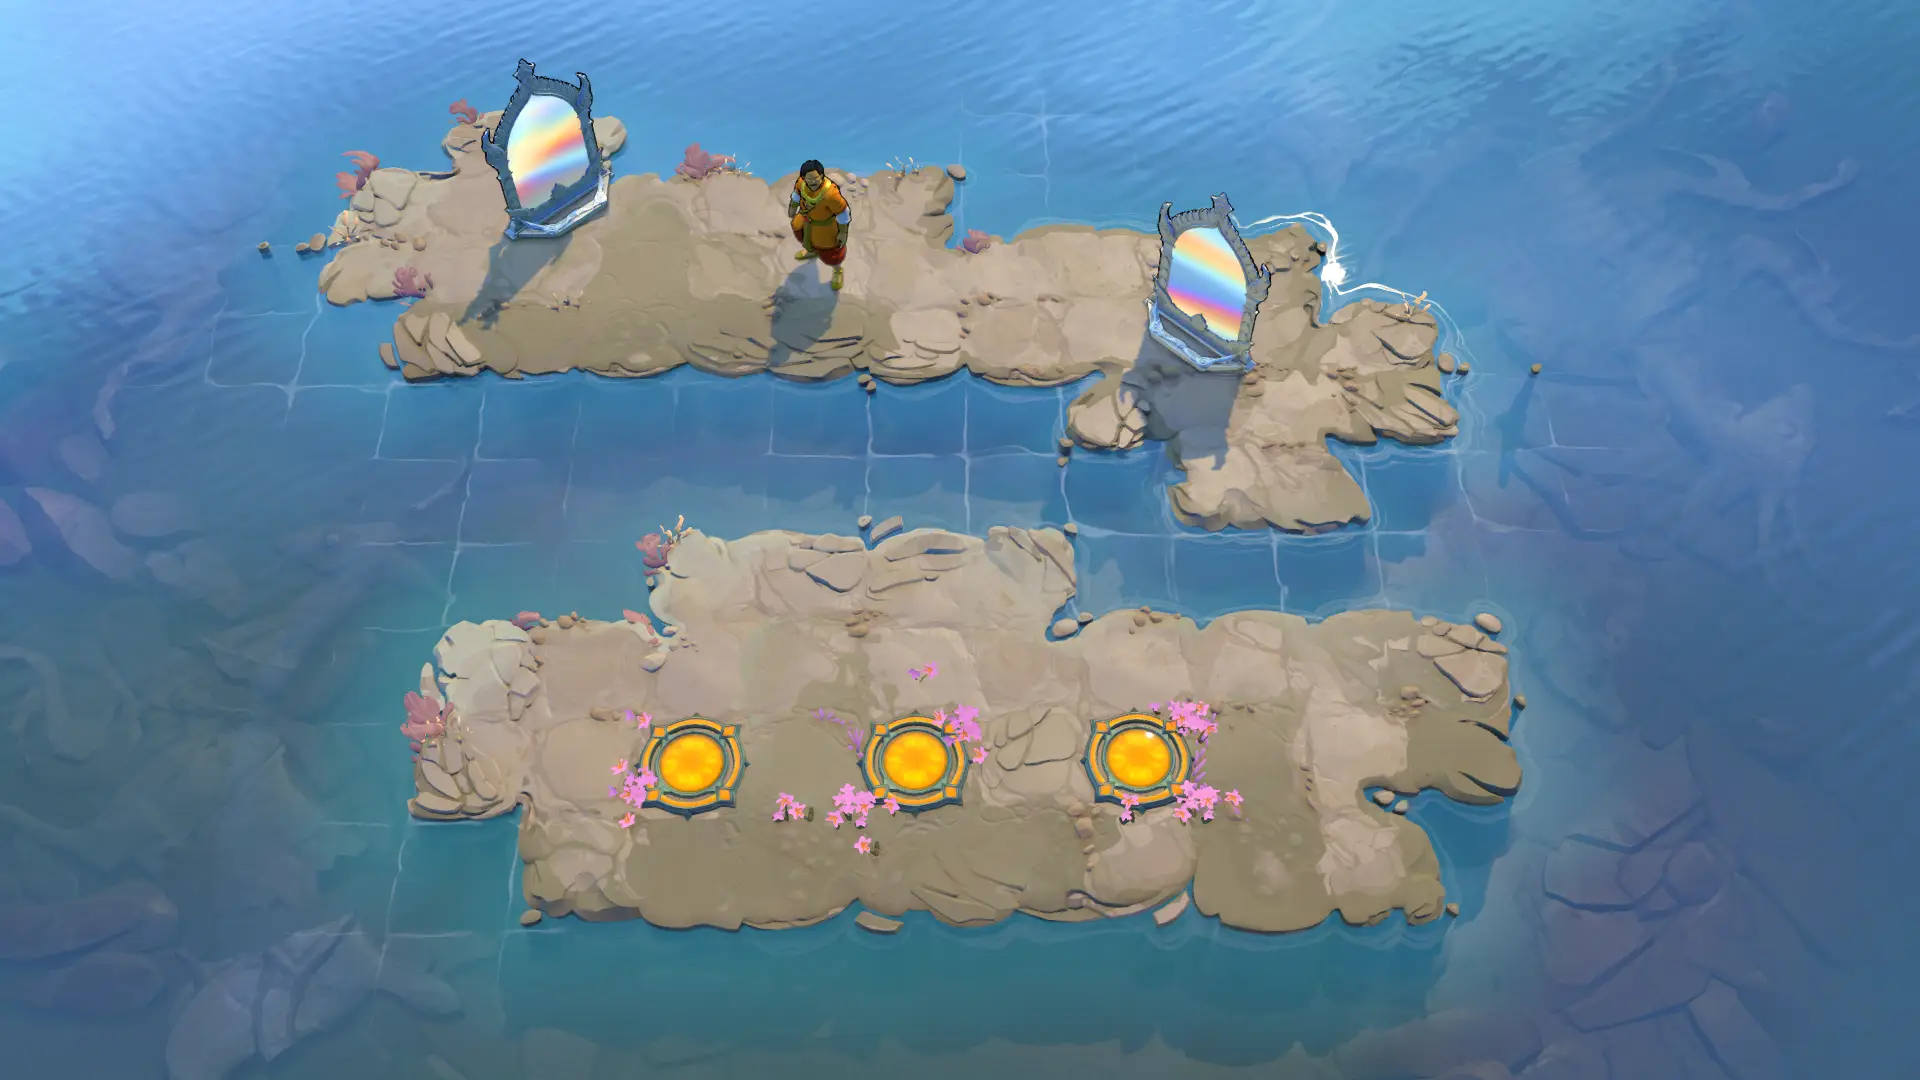 I10 · mirror_12Mirror 12Board & route · 26 inputs ↗
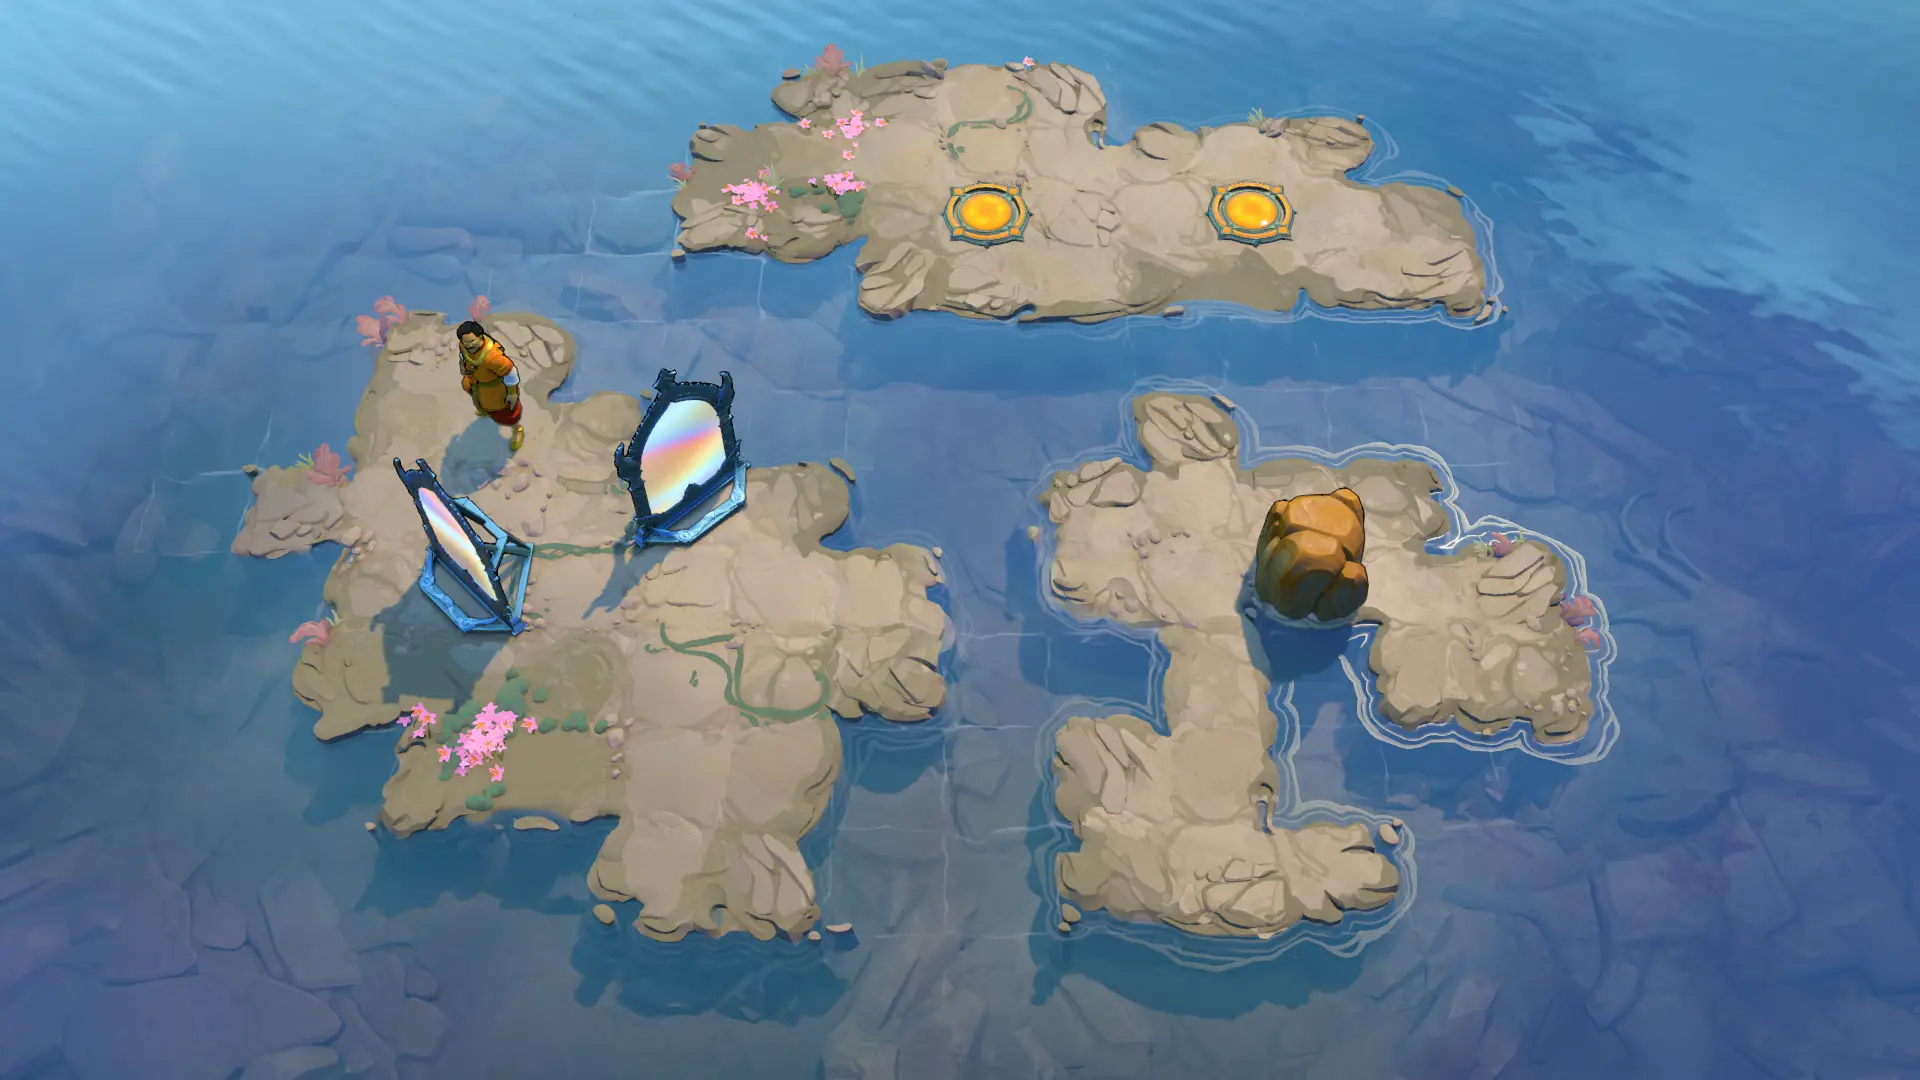 I11 · mirror_13Mirror 13Board & route · 37 inputs ↗
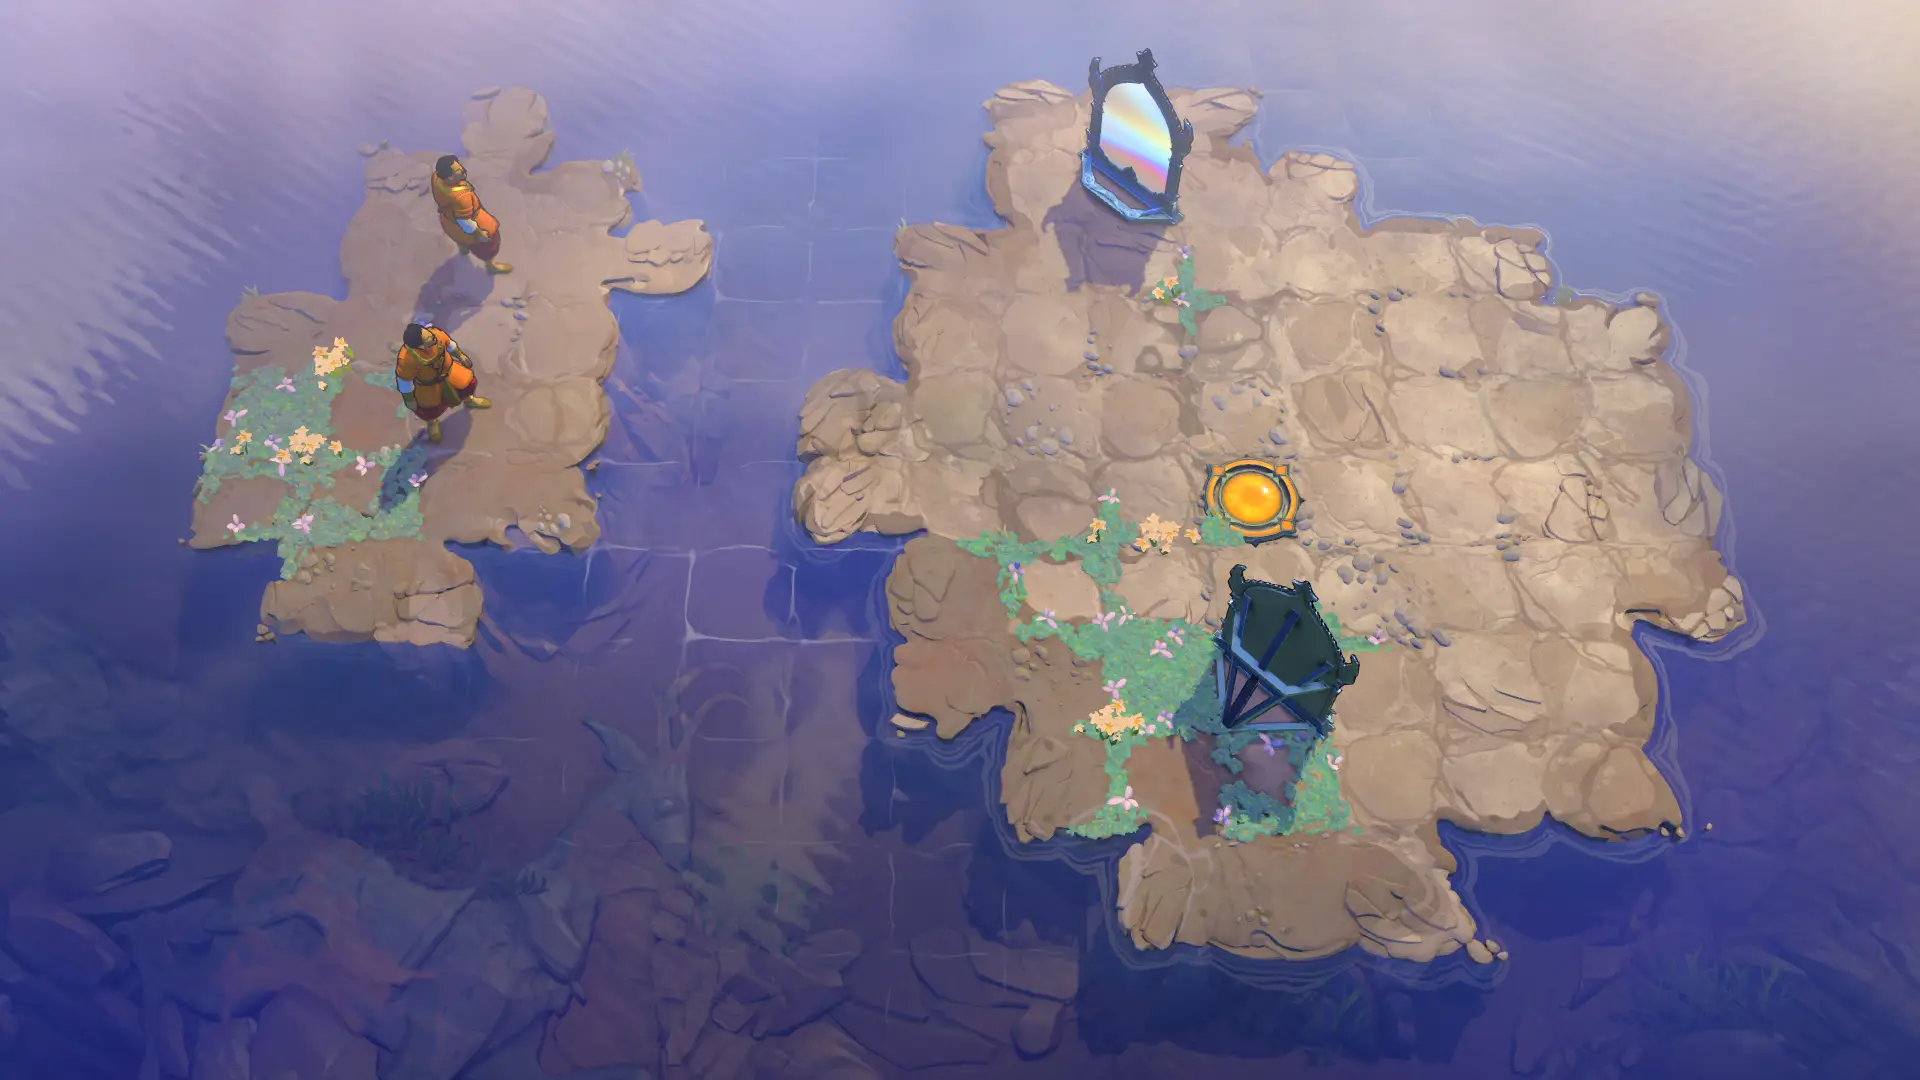 I12 · mirror_14Mirror 14Board & route · 17 inputs ↗
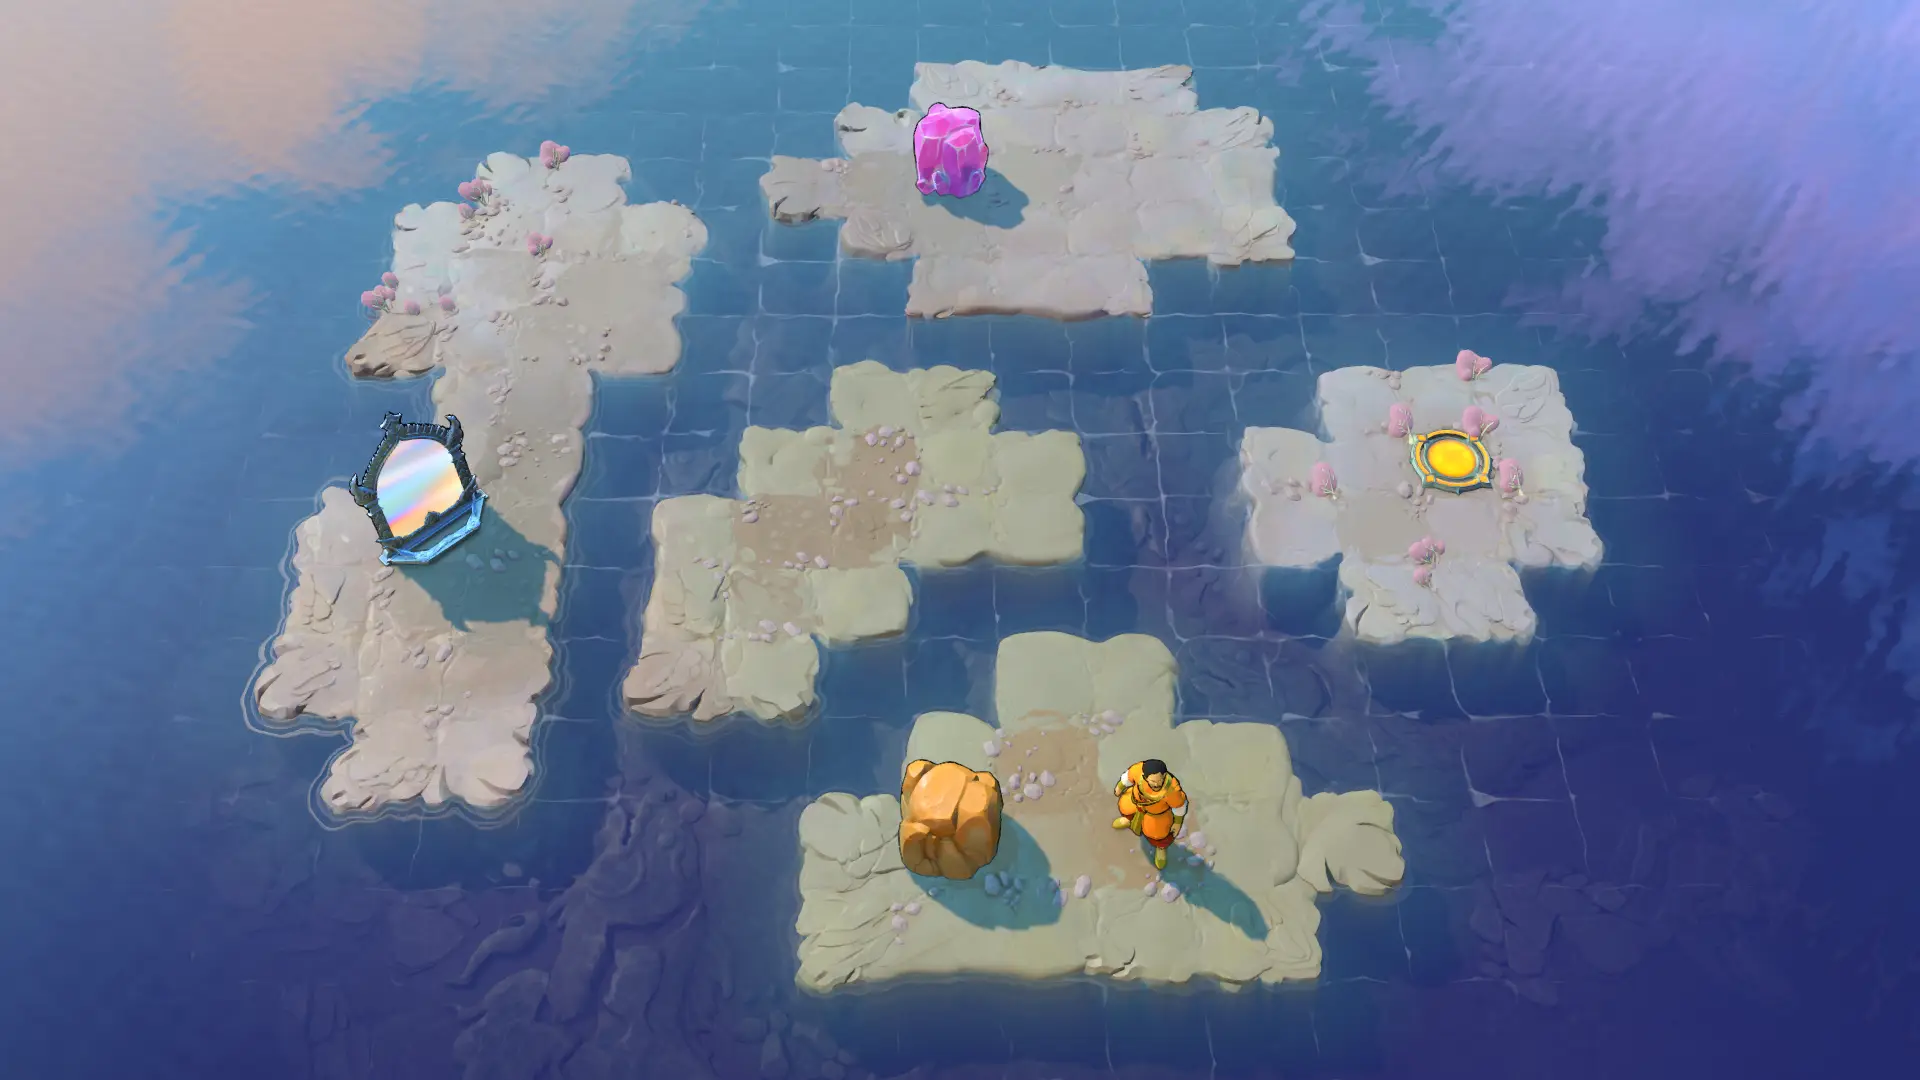 I13 · mirror_15Mirror 15Board & route · 82 inputs ↗
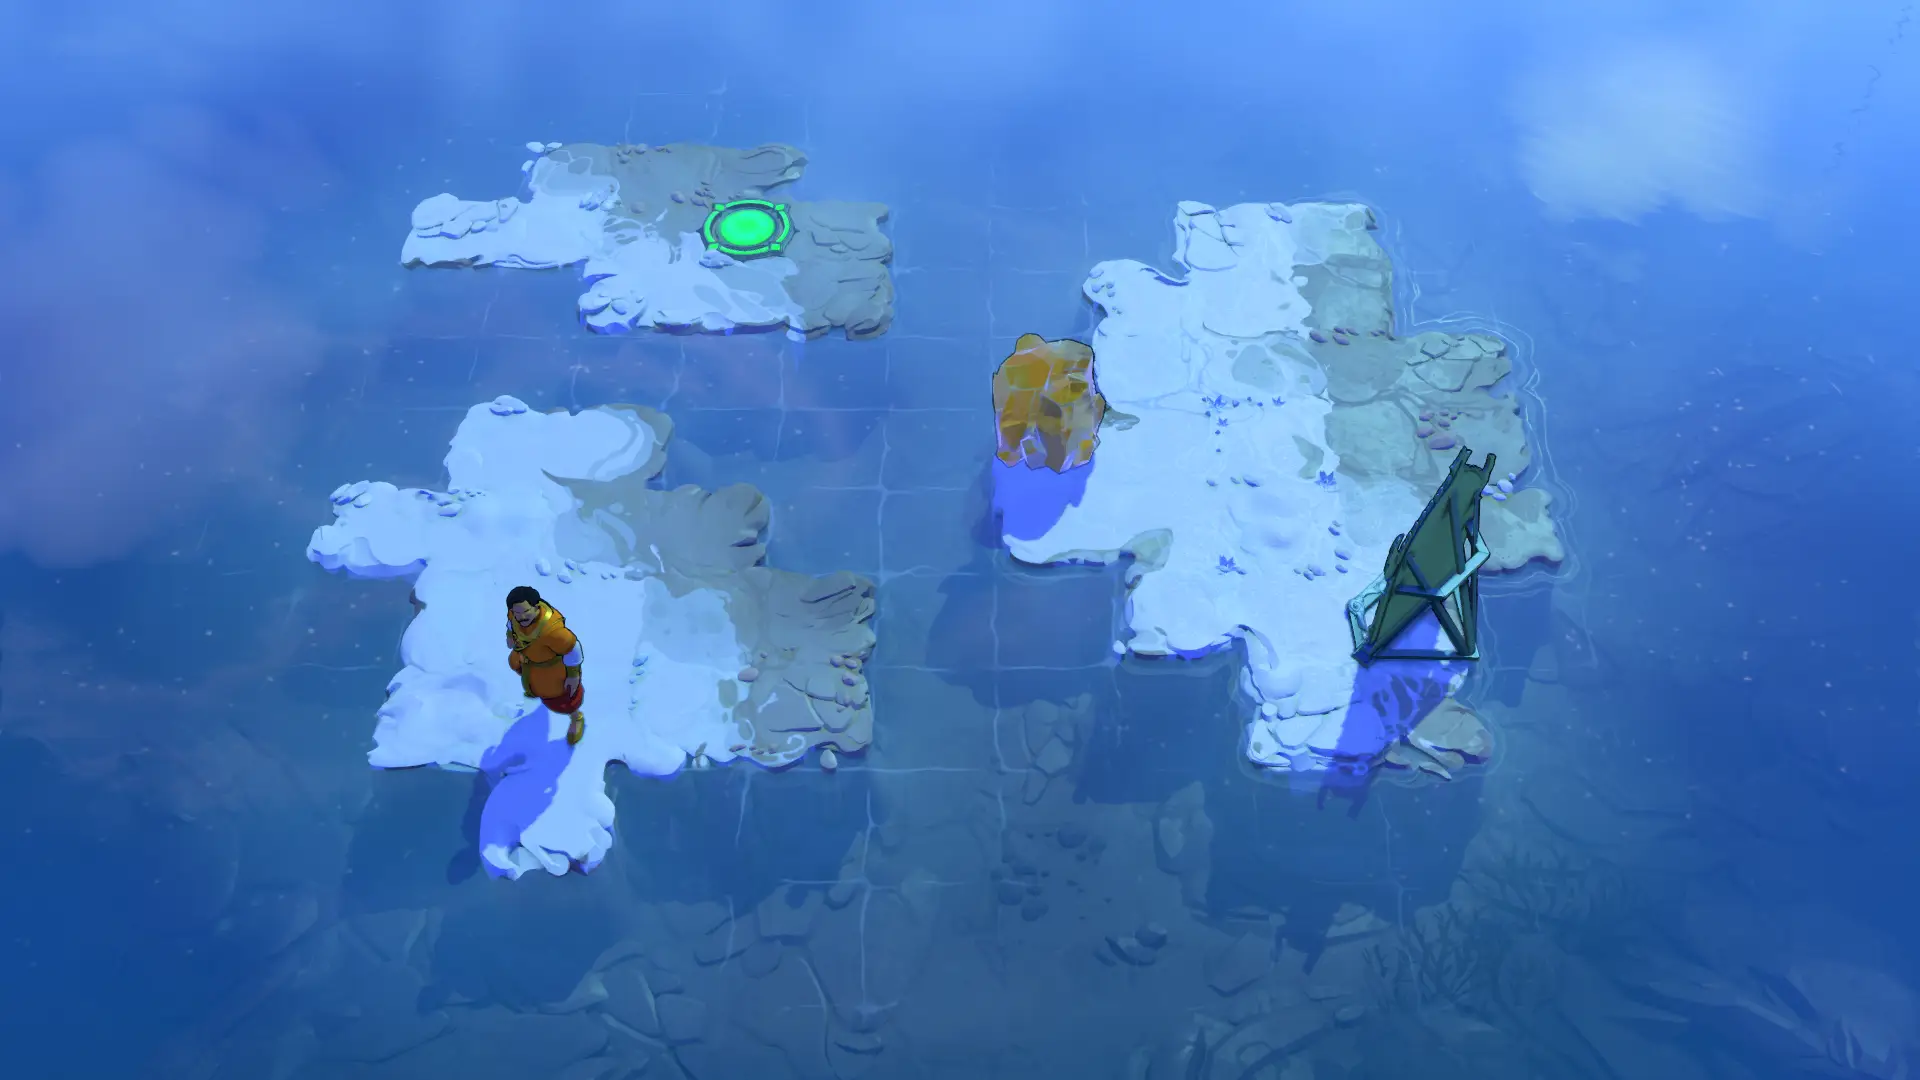 I14 · mirror_19Mirror 19Board & route · 38 inputs ↗
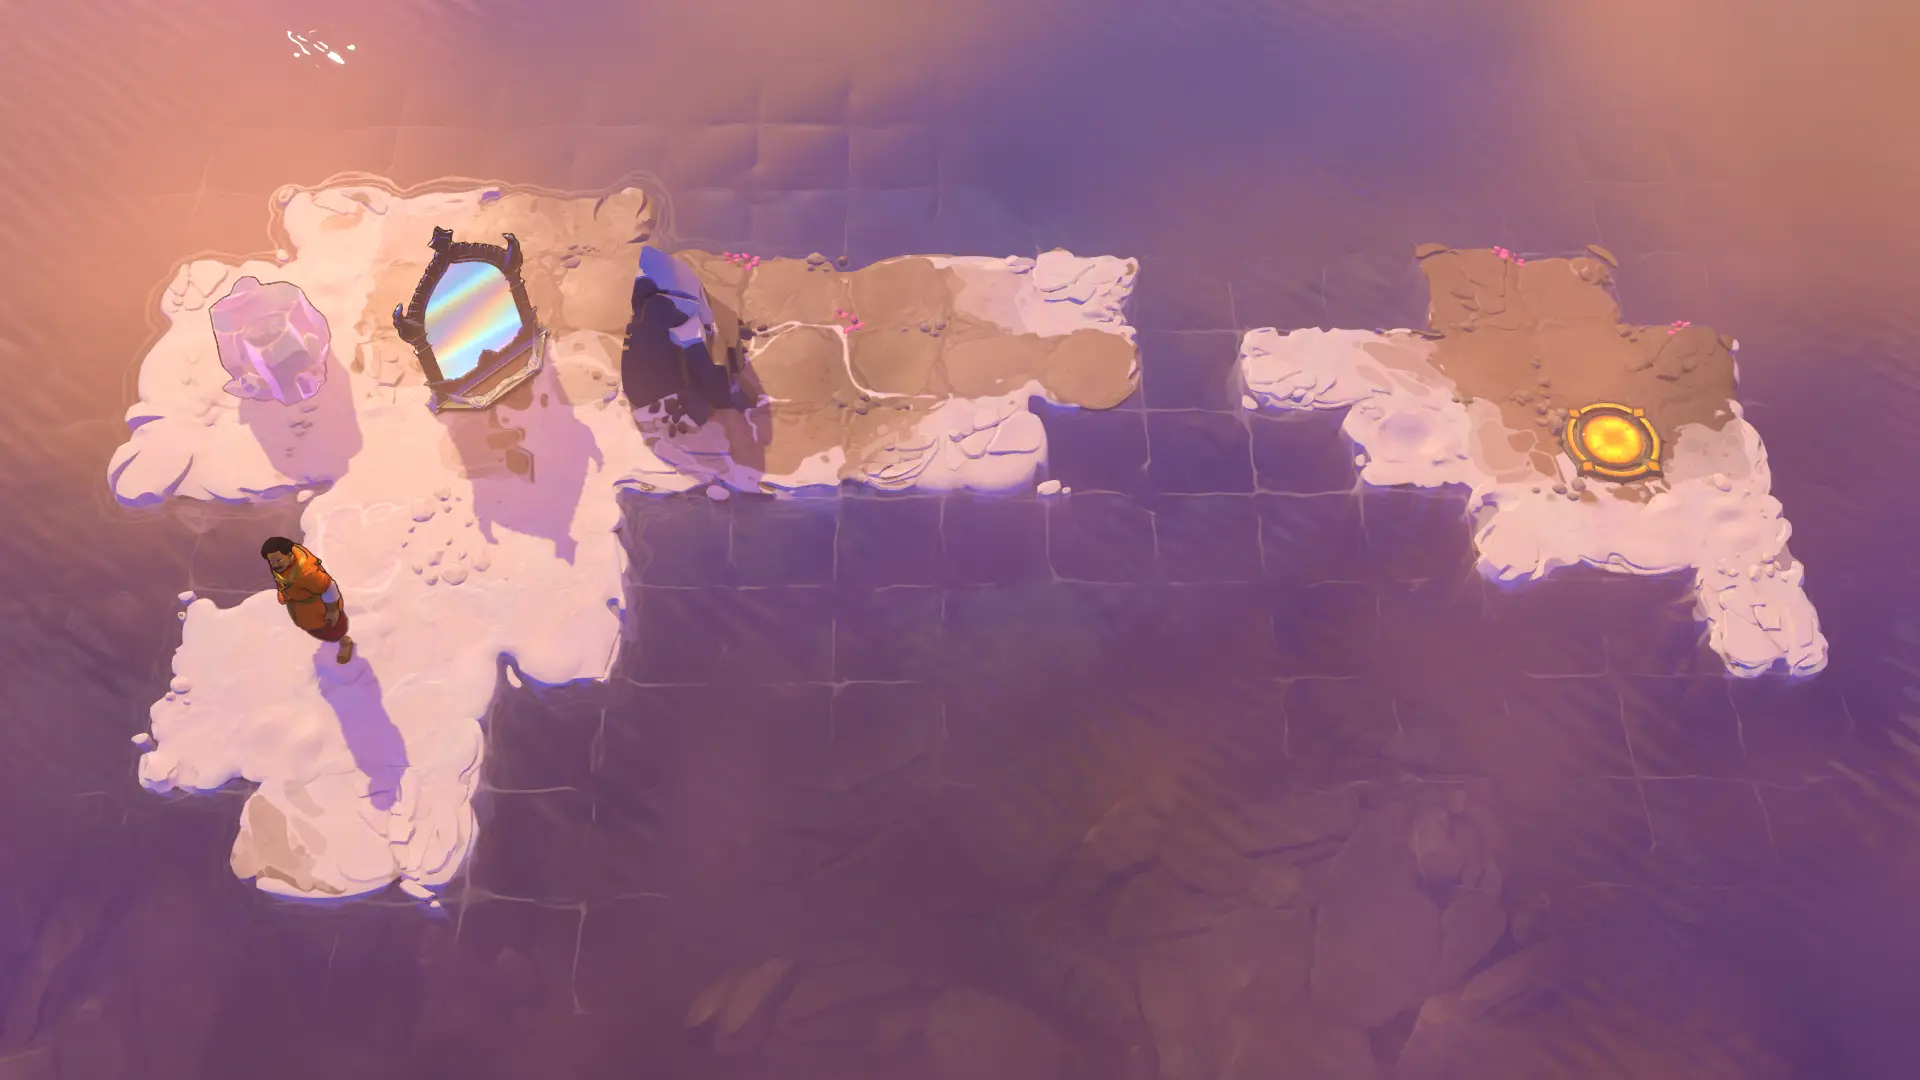 I15 · mirror_17Mirror 17Board & route · 36 inputs ↗
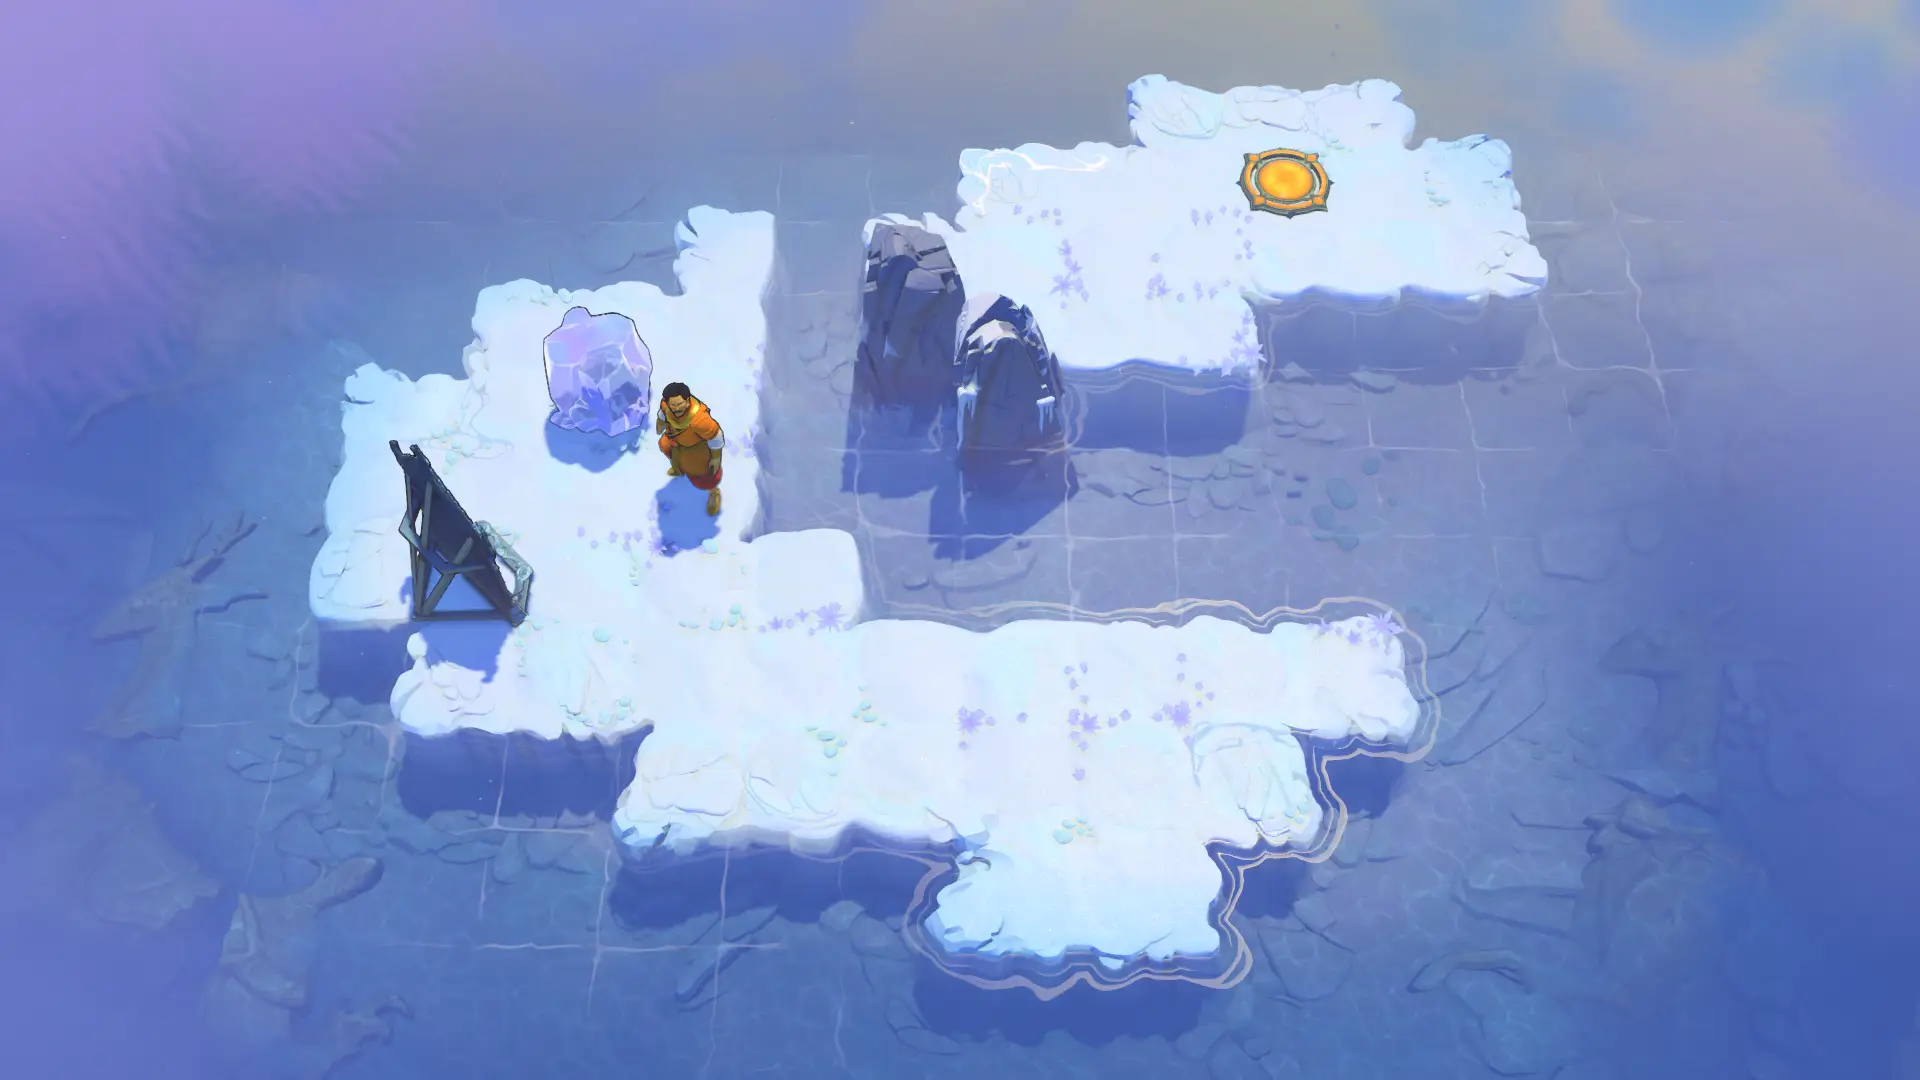 I16 · mirror_sinkMirror SinkBoard & route · 32 inputs ↗
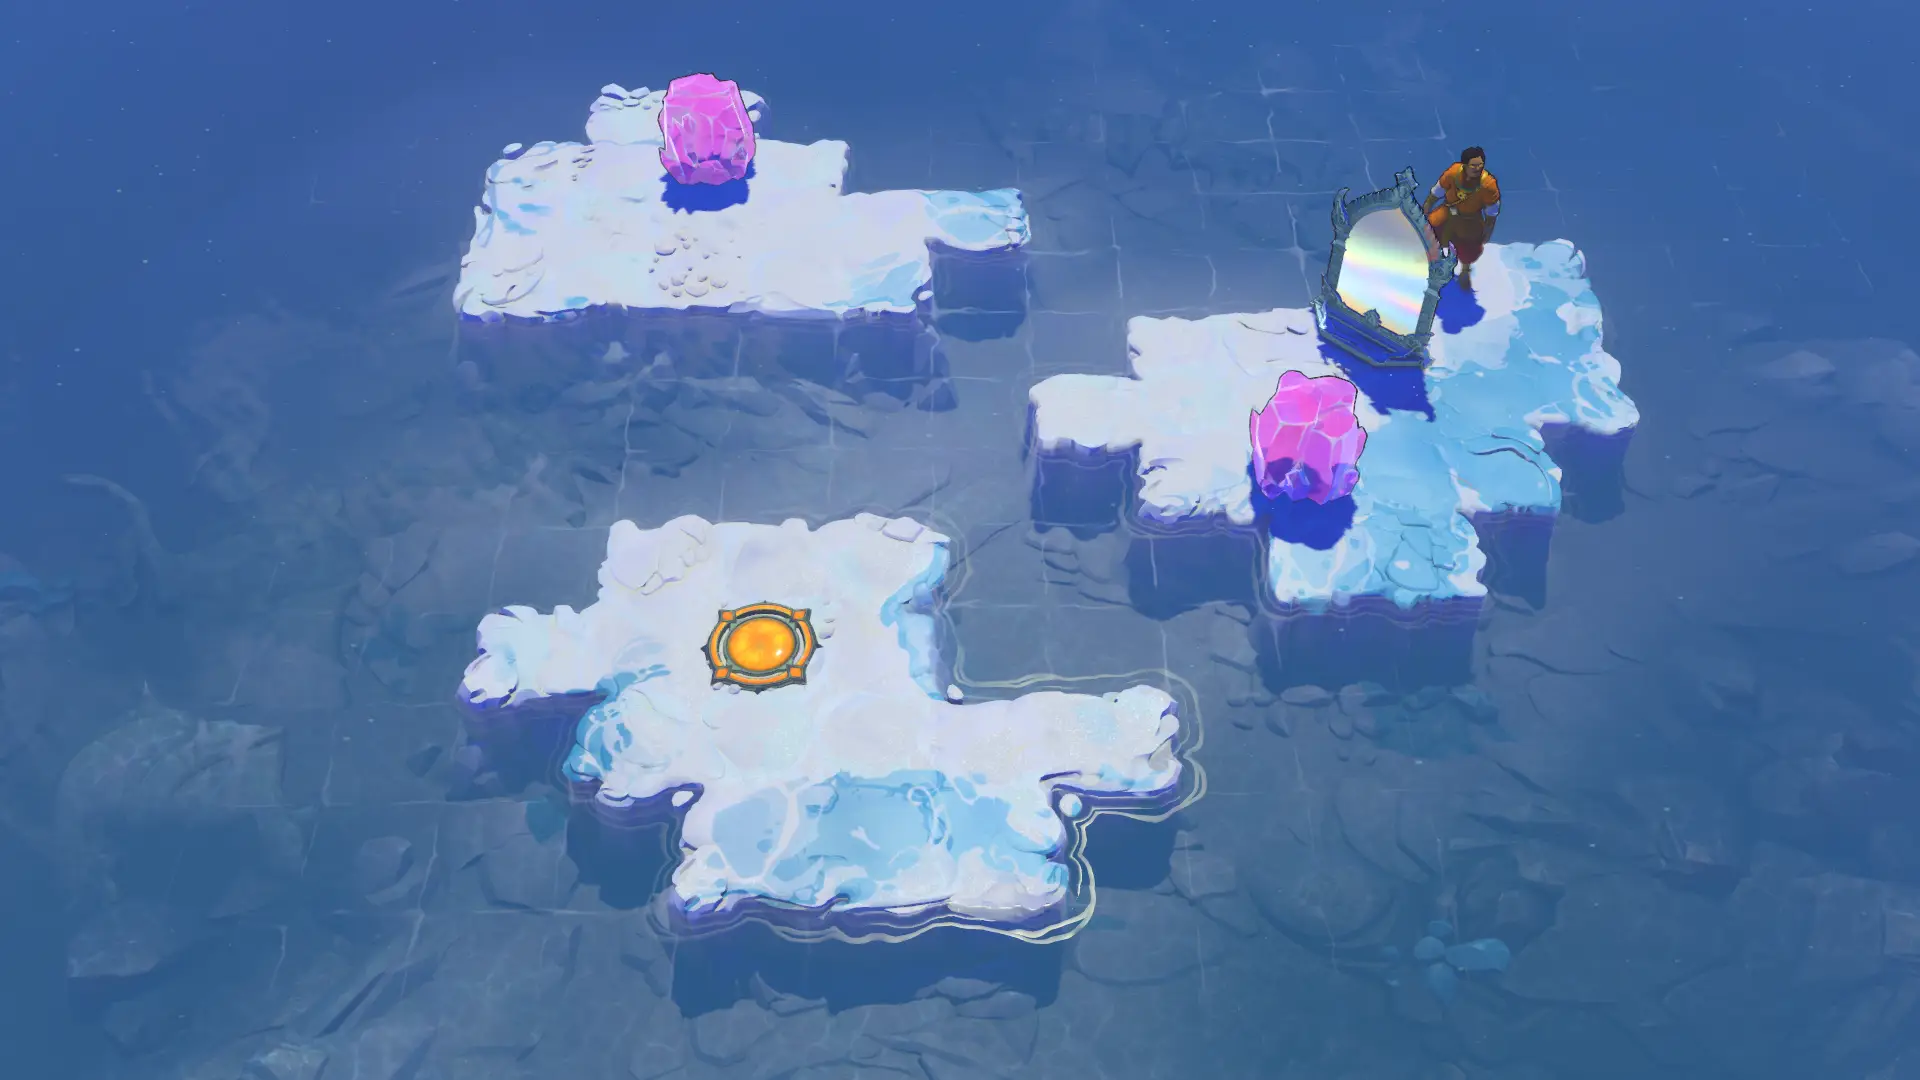 I17 · mirror_20Mirror 20Board & route · 49 inputs ↗
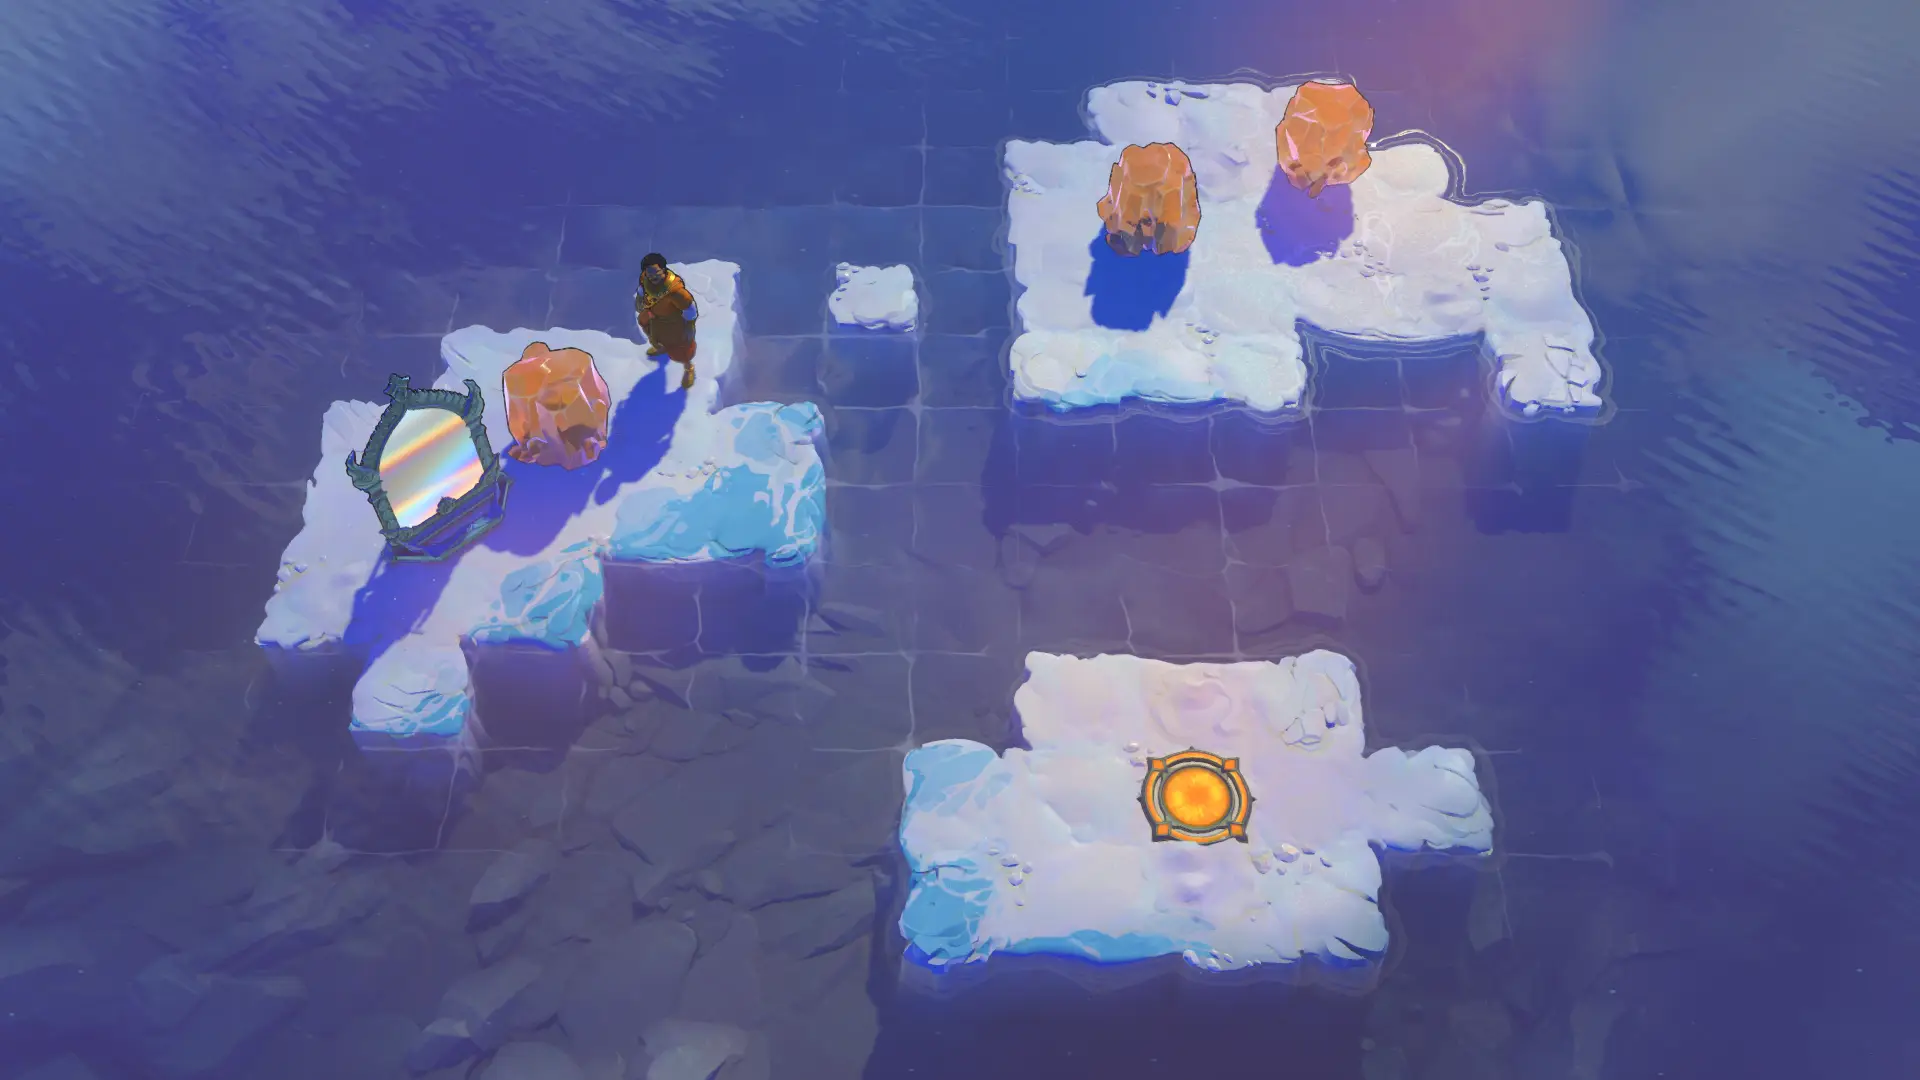 I18 · mirror_18Mirror 18Board & route · 85 inputs ↗
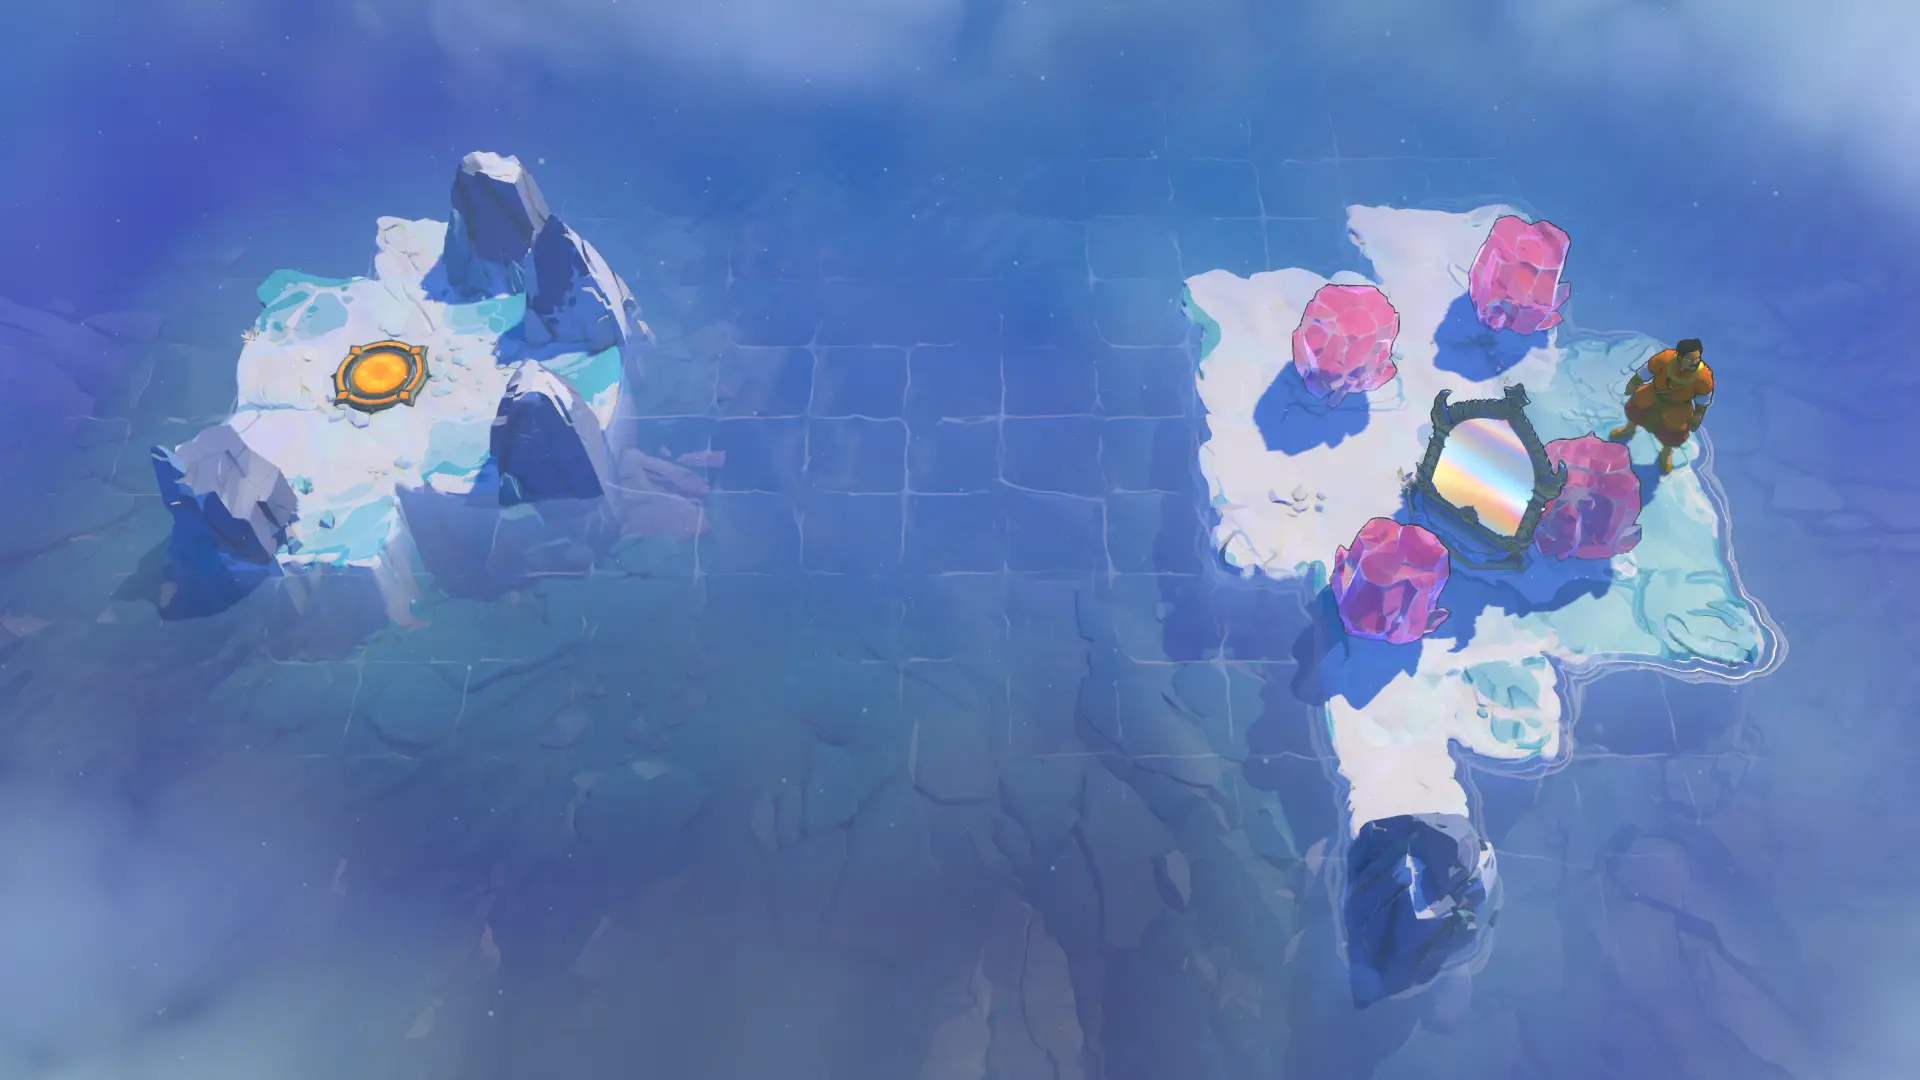 I19 · mirror_21Mirror 21Board & route · 73 inputs ↗
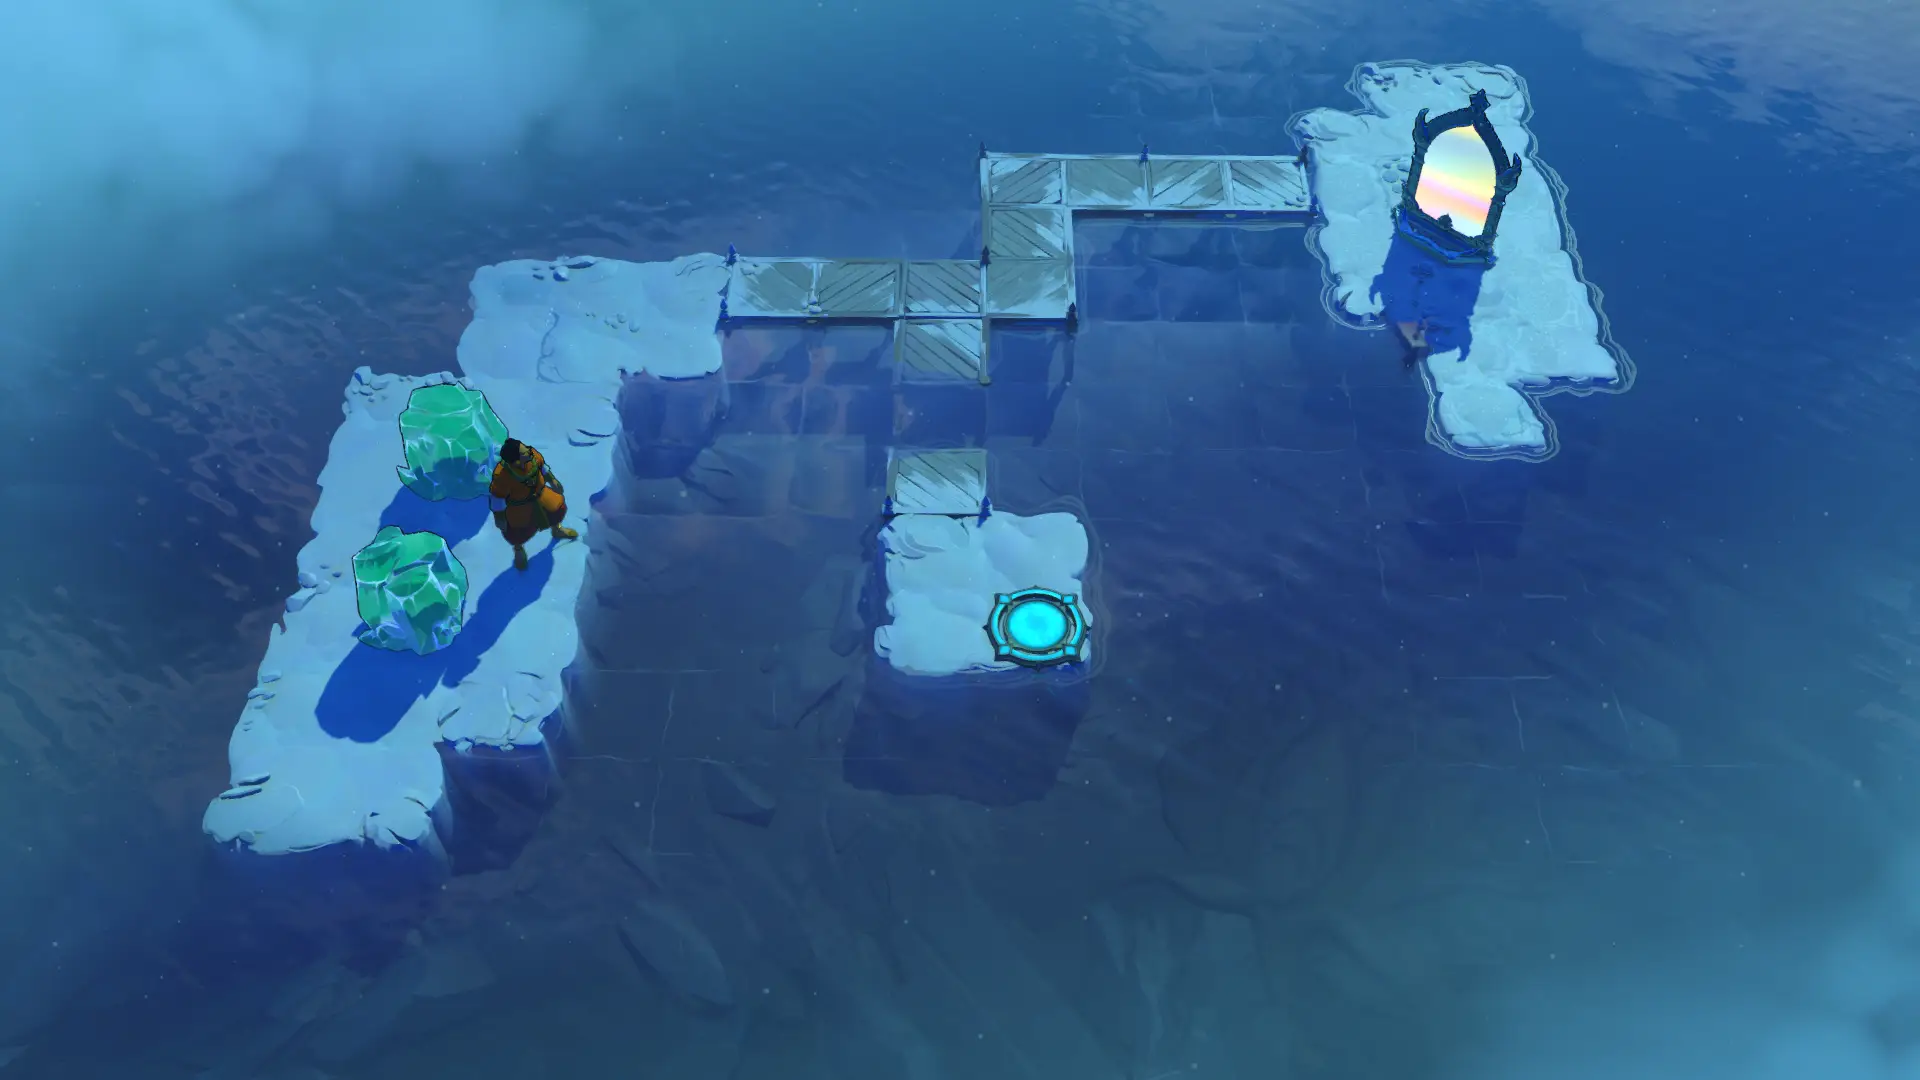 I20 · mirror_22_v2Mirror 22 V2Board & route · 99 inputs ↗
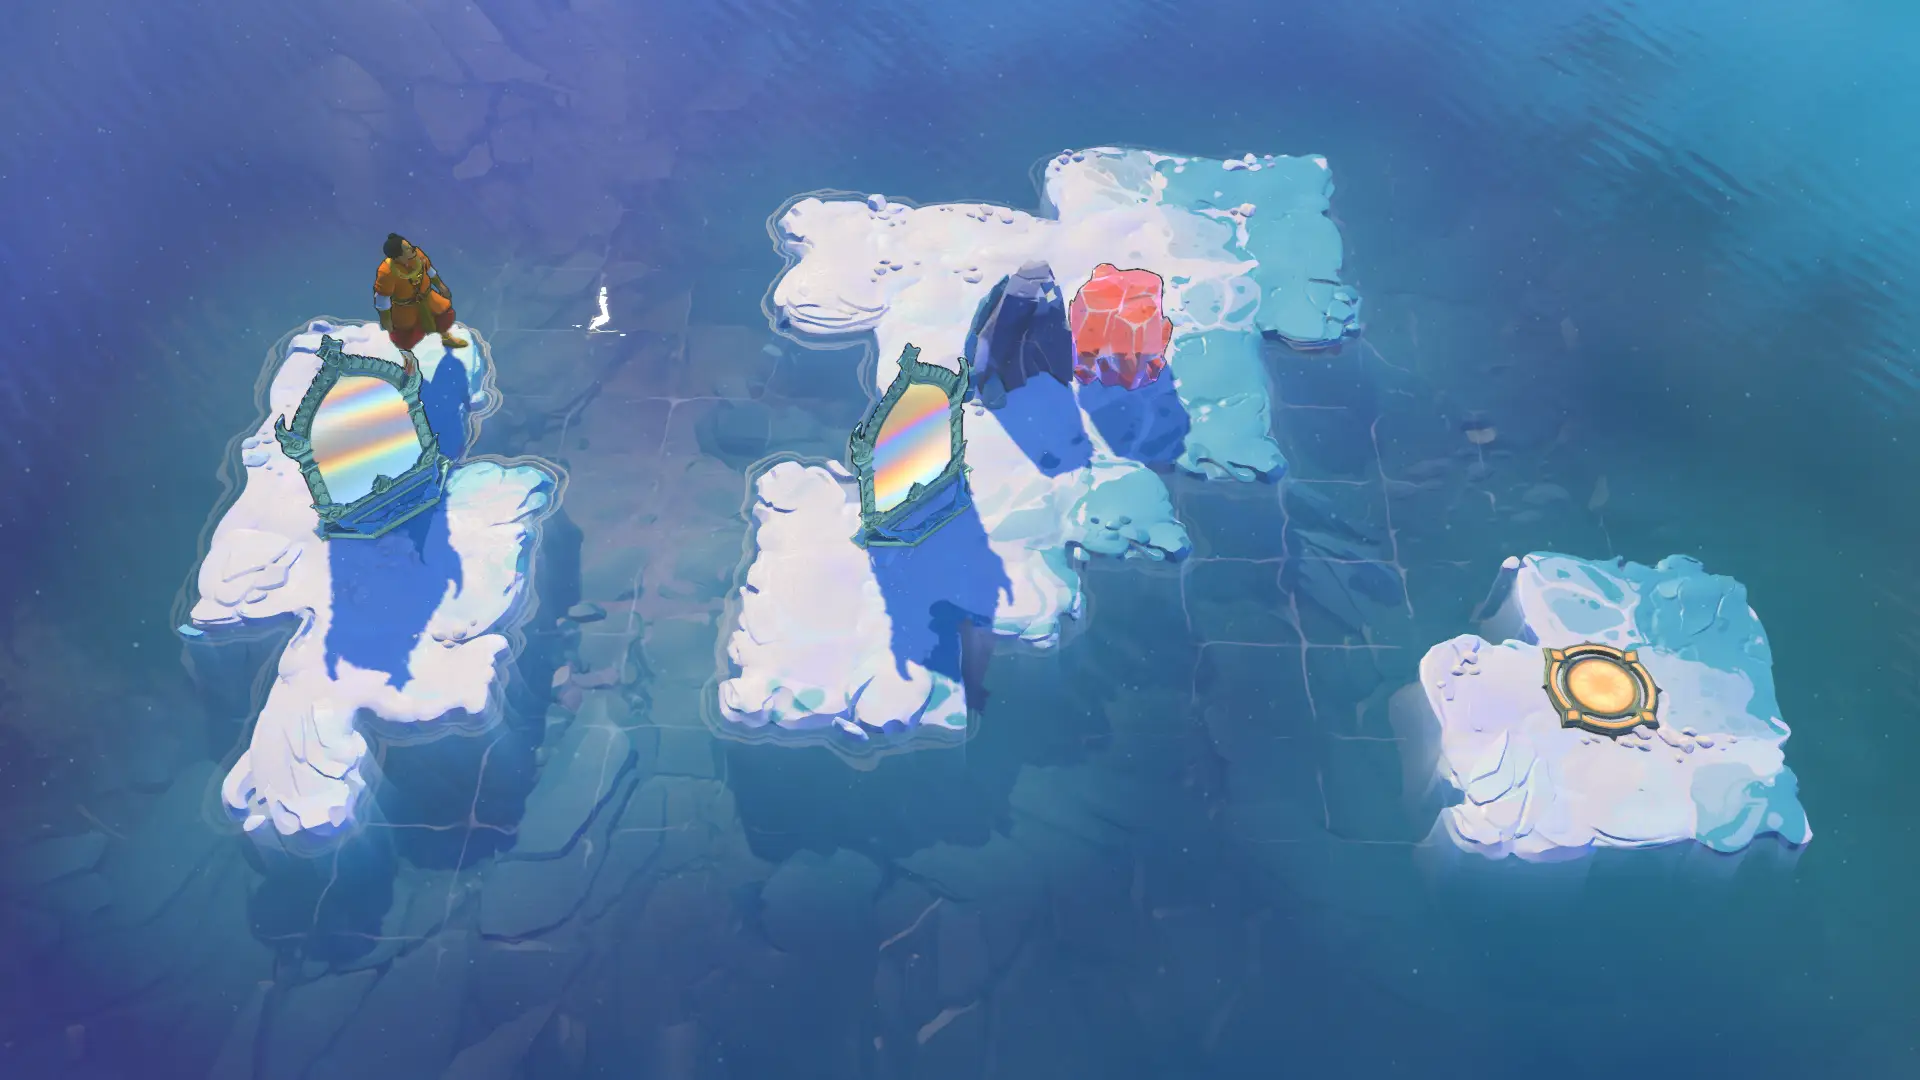 I21 · mirror_factory_v2Mirror Factory V2Board & route · 96 inputs ↗
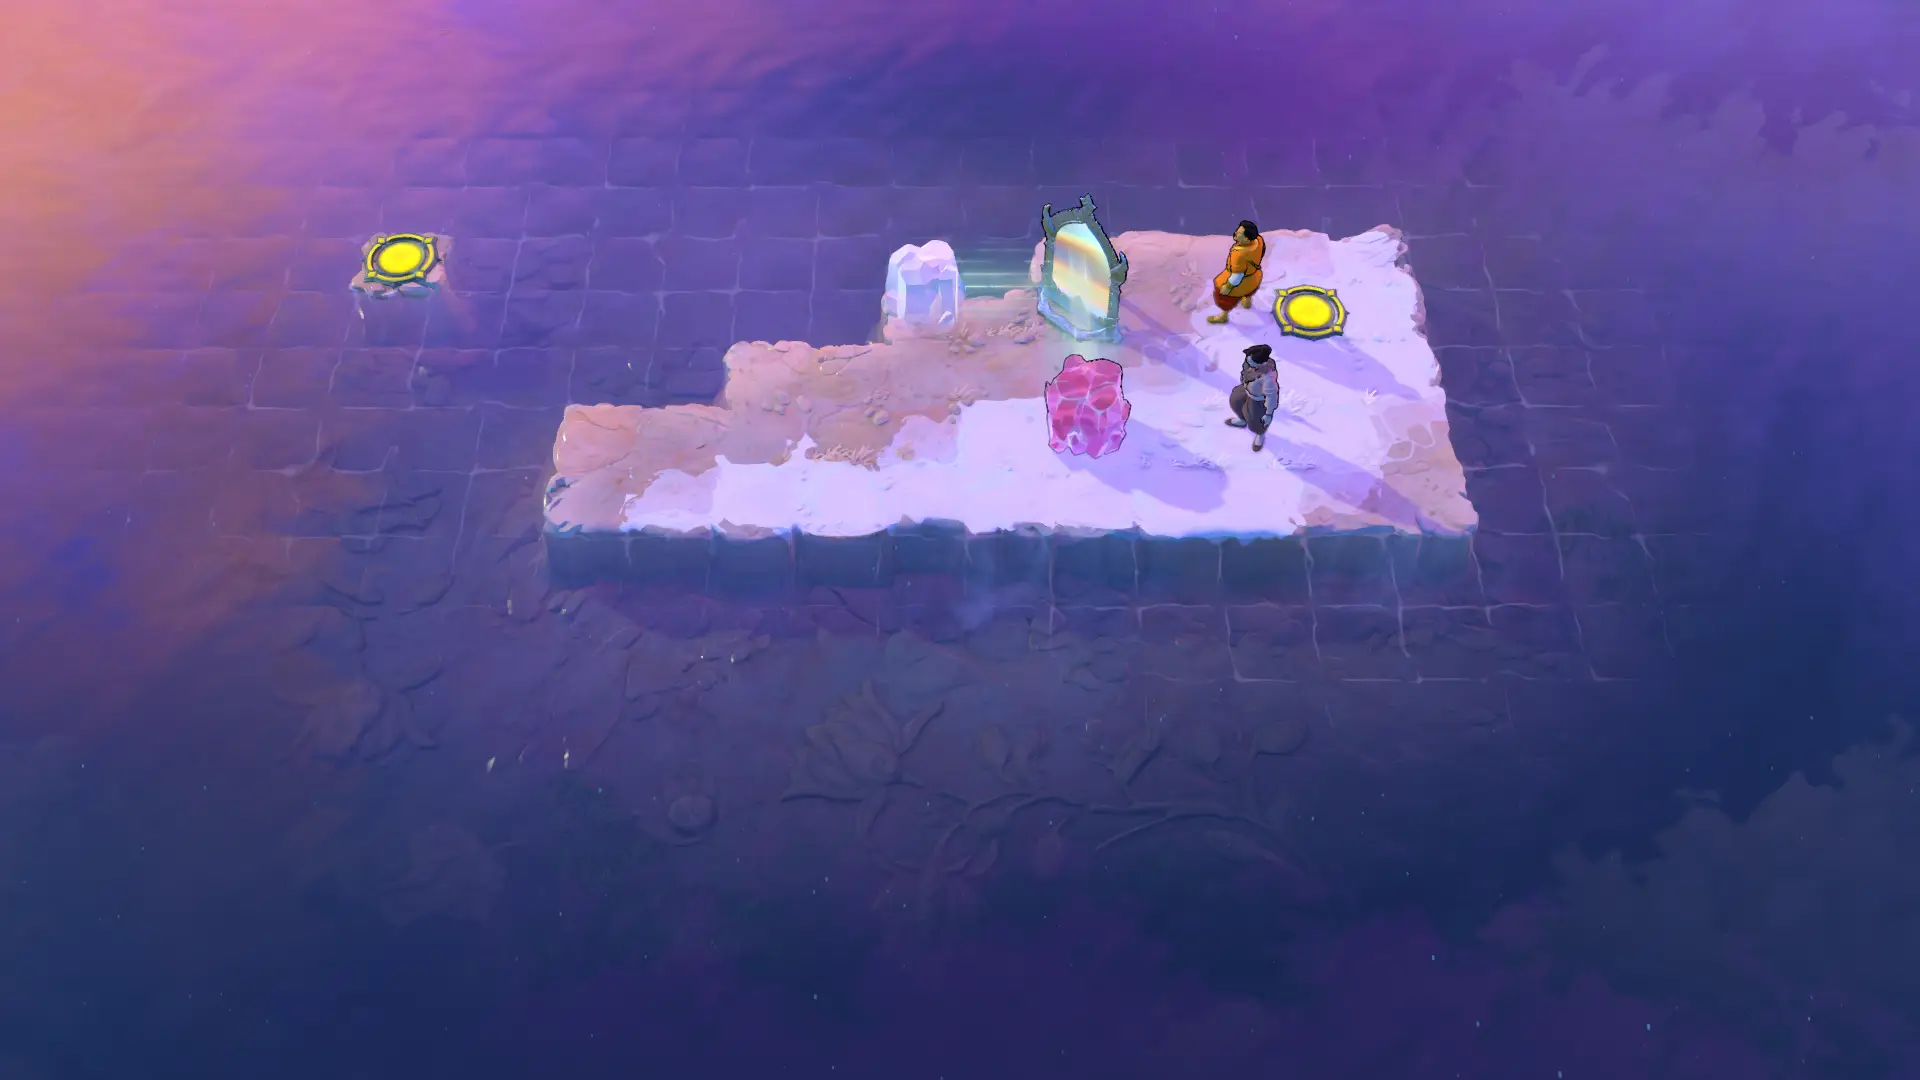 I22 · mirror_palsMirror PalsBoard & route · 31 inputs ↗
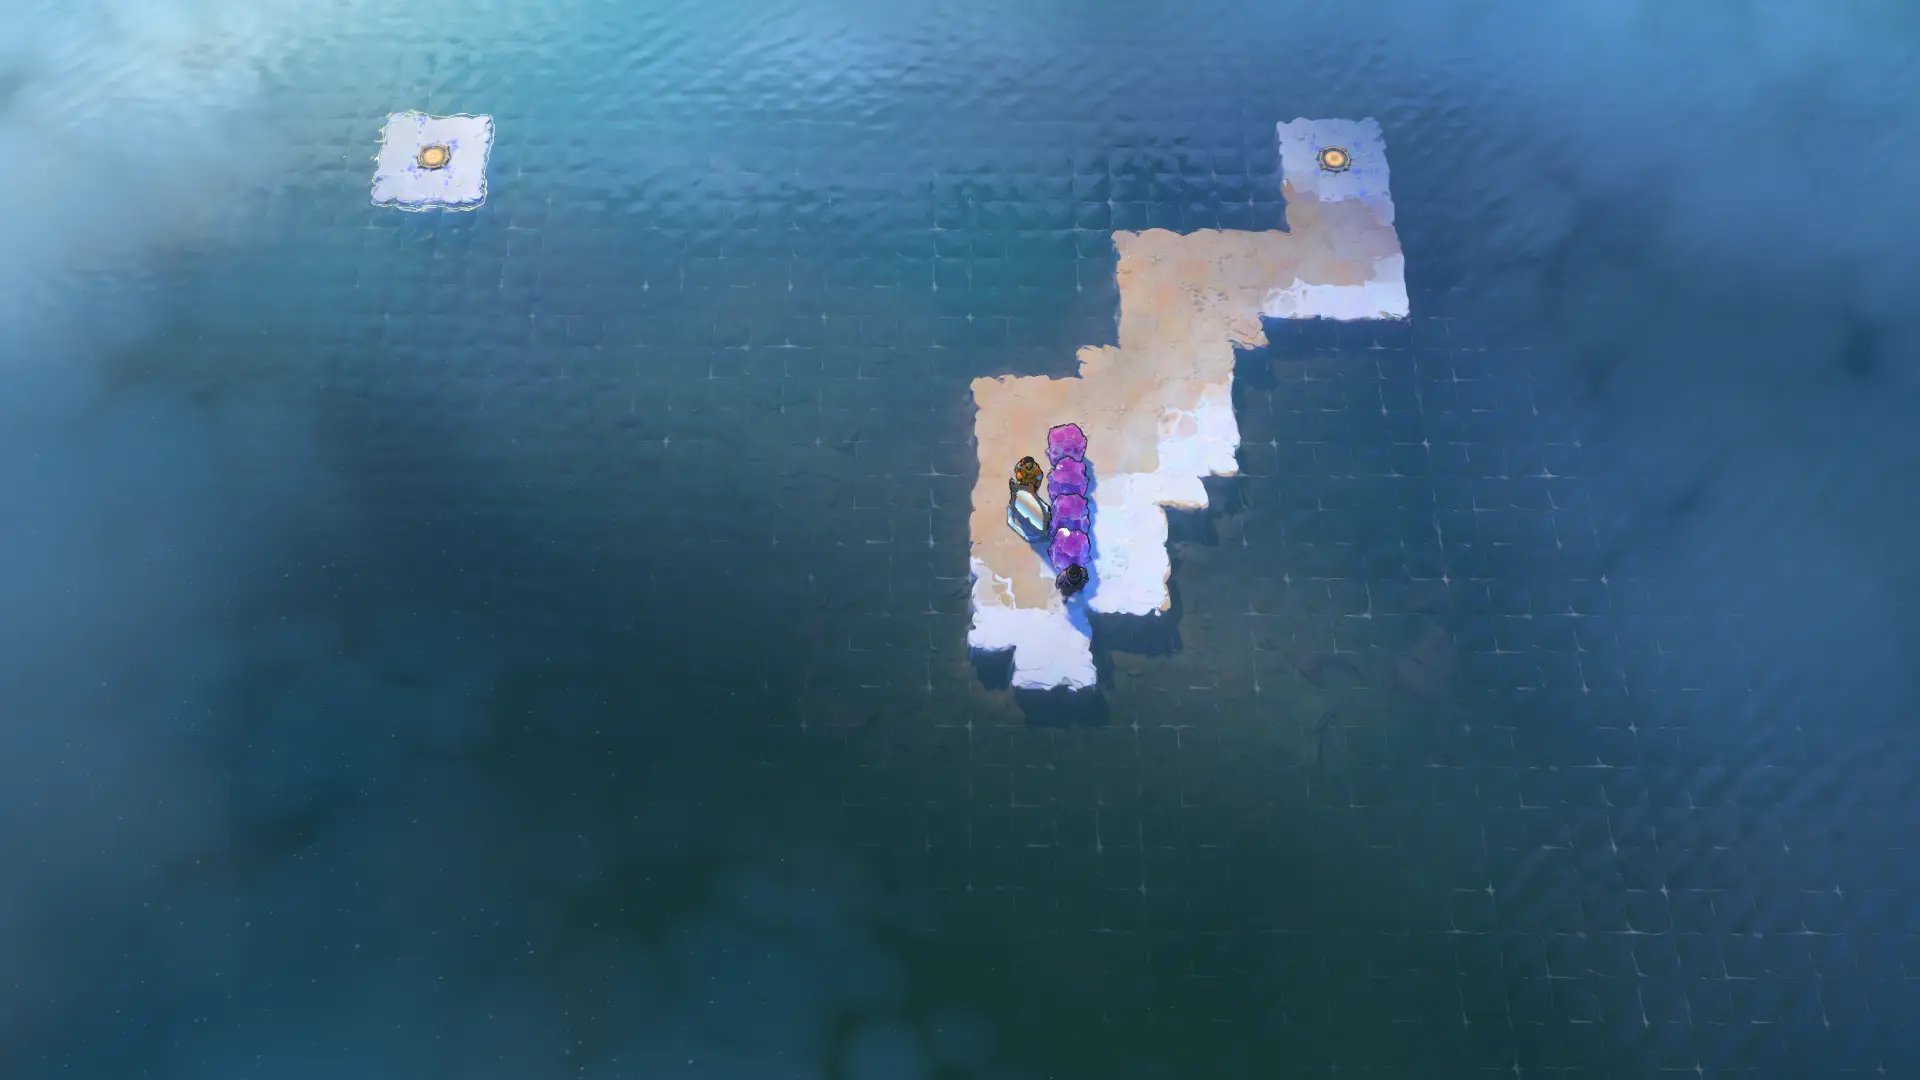 I23 · walk_it_overWalk It OverBoard & route · 190 inputs ↗
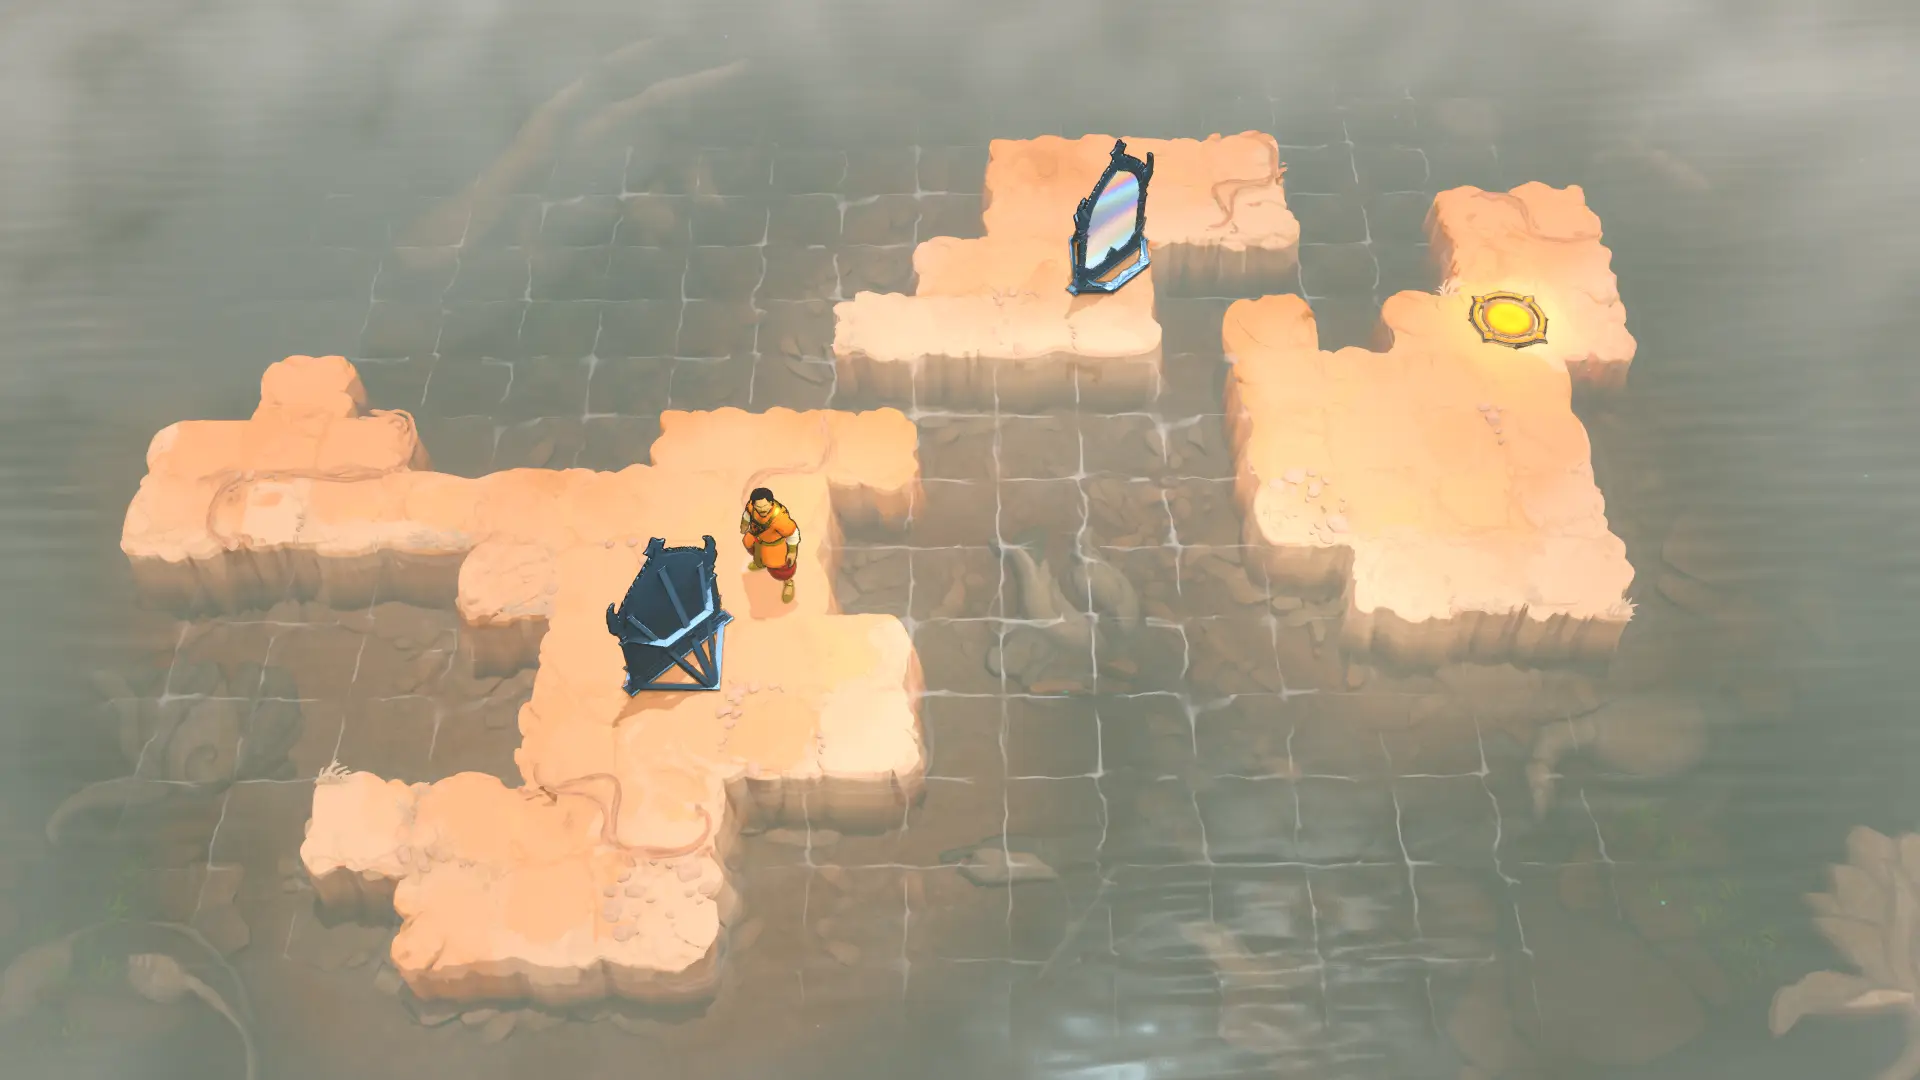 I24 · mirror_10_alt2Mirror 10 Alt2Board & route · 42 inputs ↗
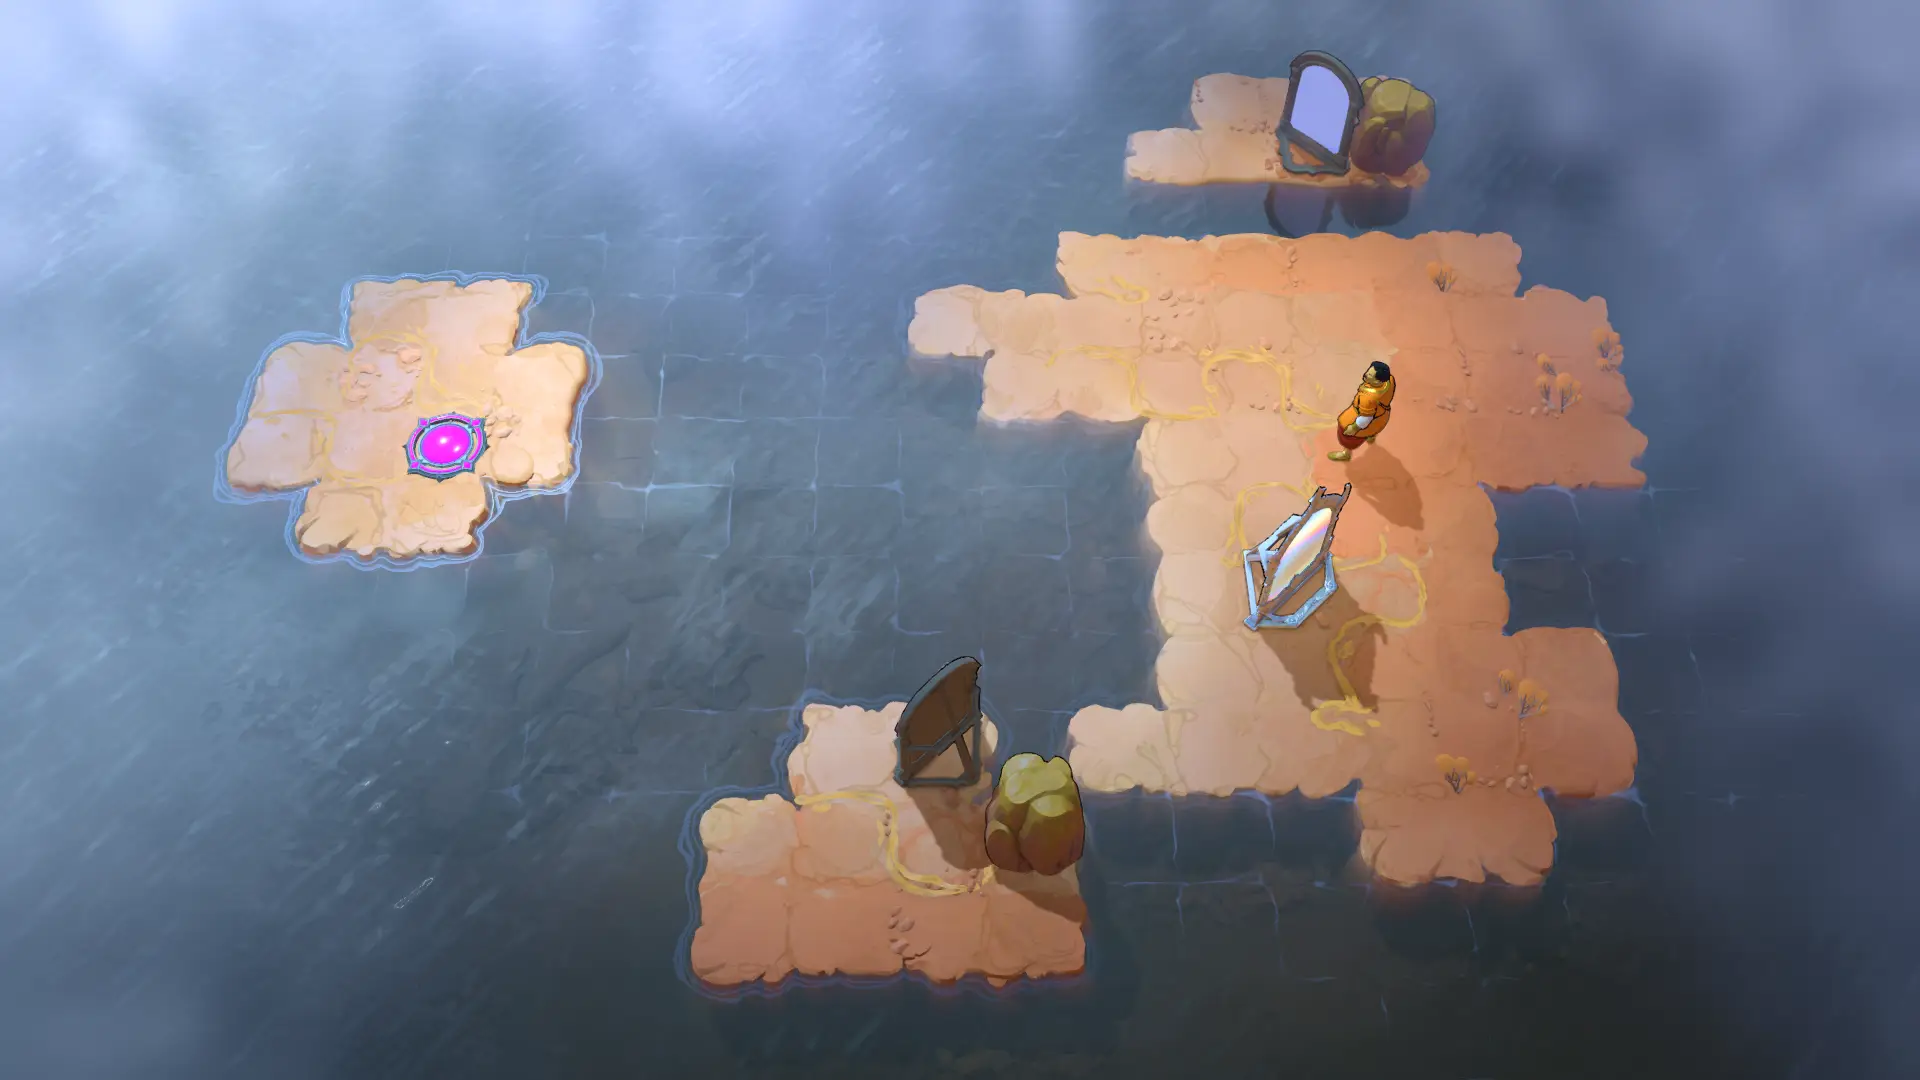 I25 · mundane_mirrorMundane MirrorBoard & route · 106 inputs ↗
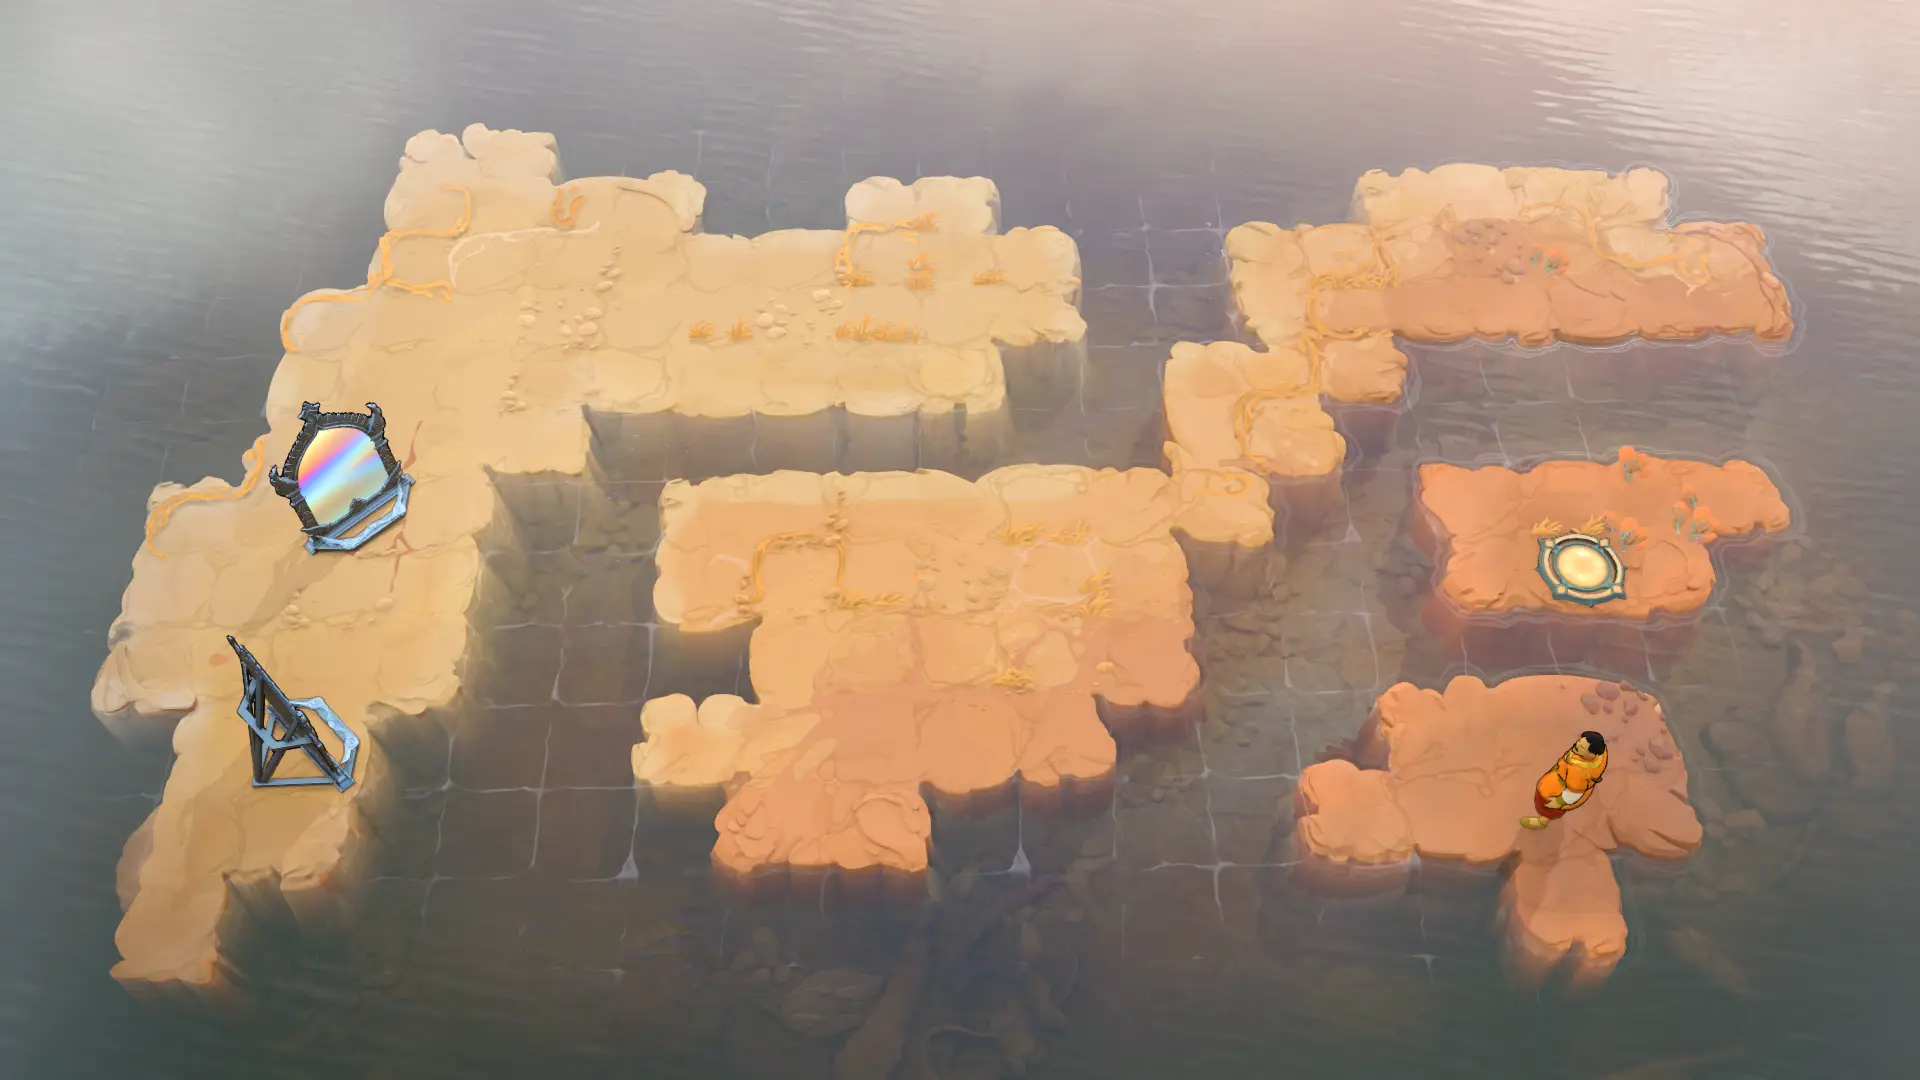 I26 · mirror_10_b_v2Mirror 10 B V2Board & route · 64 inputs ↗
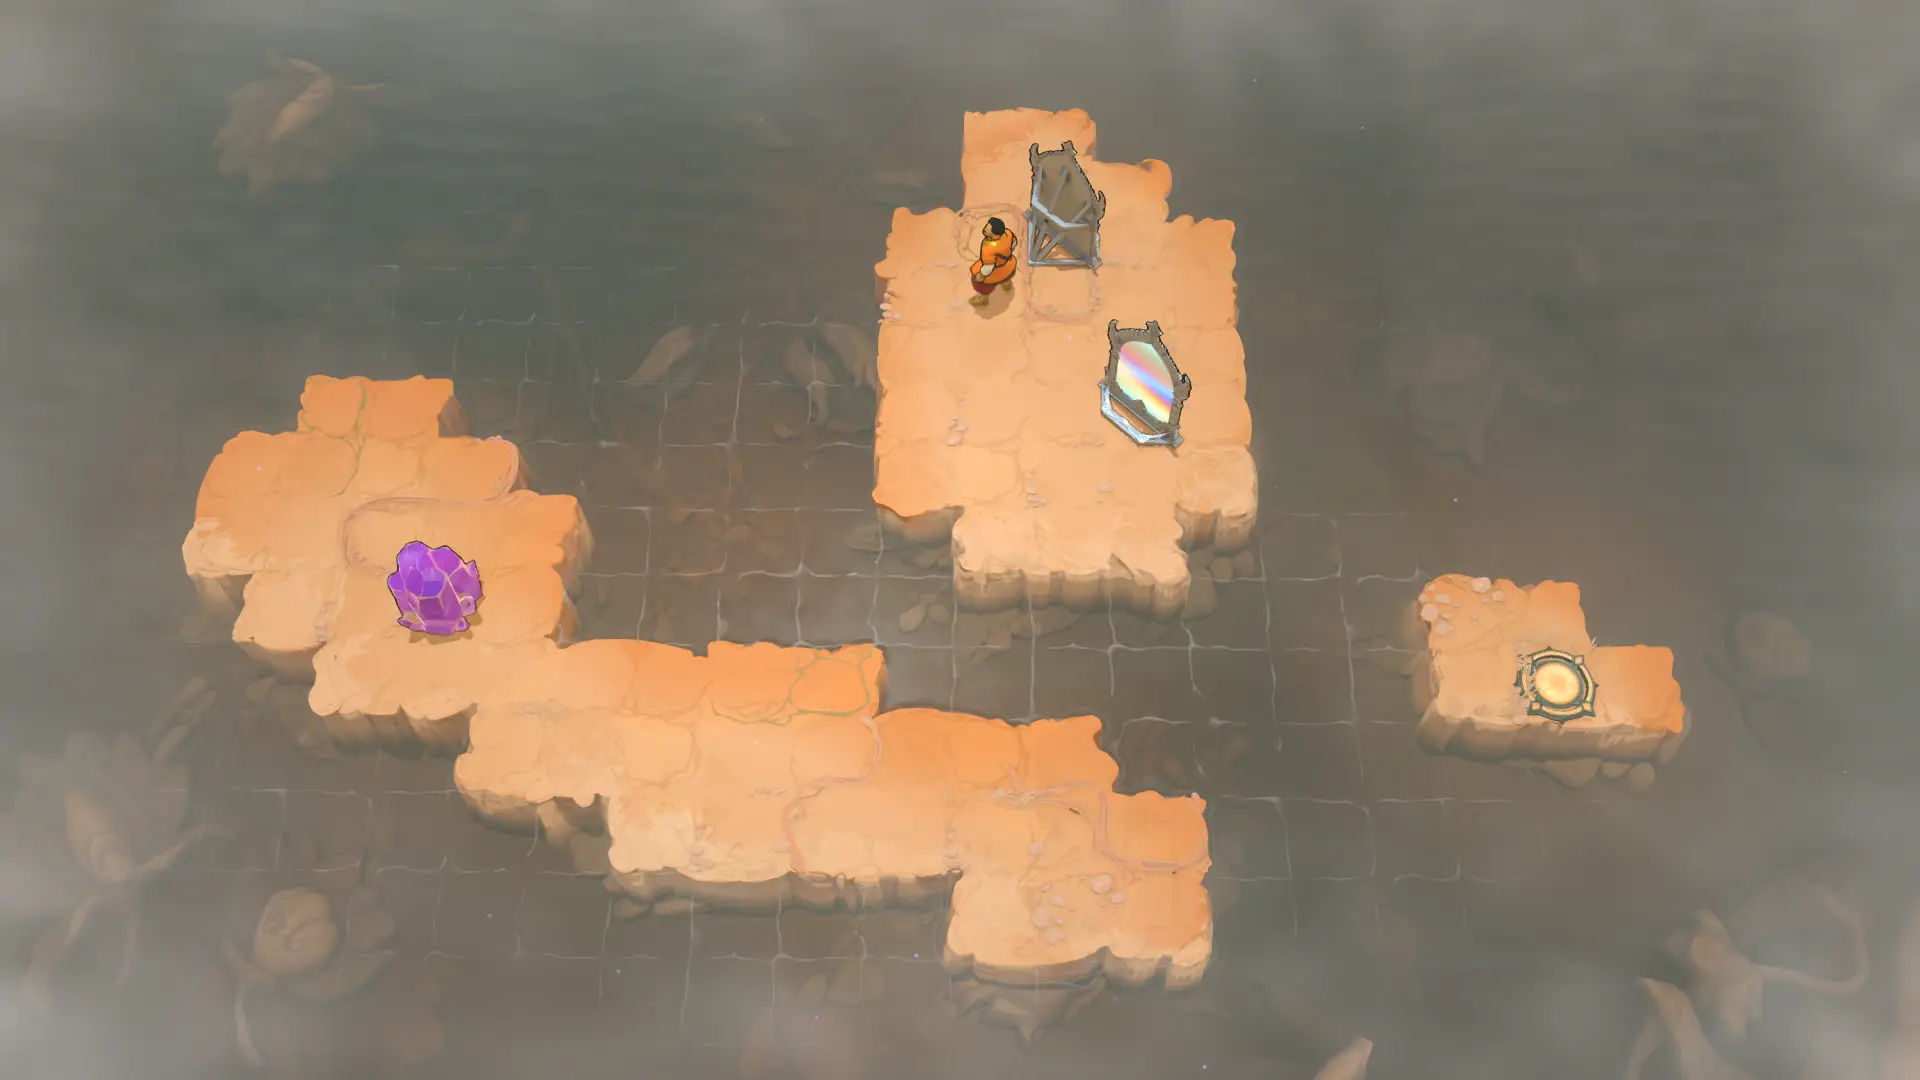 I27 · mirror_10_dMirror 10 DBoard & route · 69 inputs ↗
Sources and version notes
This page combines the references below with our indexed community data. Source-based explanations are distinguished from playtesting: this regional page does not claim a complete, personally replayed release walkthrough.
- PlayStation hands-on: characters and world mechanics (Demo)
- joric/ootss: pinned Demo Phase 2 data
- Video comparison for Mirror 1: 塞德莎, Part 5
Read our attribution and verification policy · Report a board or naming mismatch